Coffee Table Part 10 – Applying The Finish
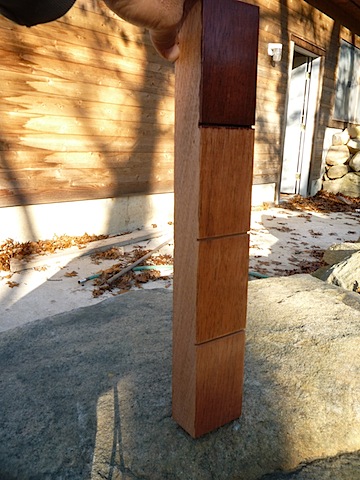
The first thing I need to do is prepare a finish sample for the clients. I will present them with three options on a piece of wood that was actually used in the table. This way the sample will truly reflect the way the table will finish. I only use products that bring out the natural color of the wood. I do not use stains or dye. The dark sample below is achieved by using a chemical that reacts with the mahogany. It emulates 100 years of aging in just a few minutes. It has a quality and a depth that can not be achieved with stains. Every kind of wood has its own tricks. In this case the client choose the middle option. I was delighted and it was off to the races.
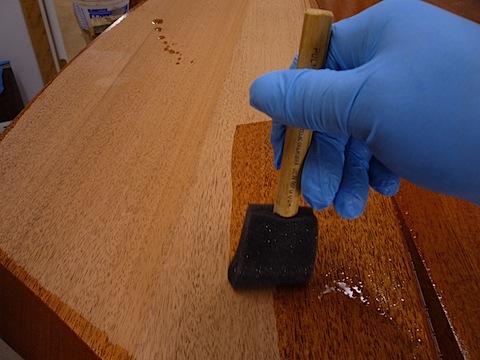
The first coat, a tongue oil varnish, is brushed on. This finish sinks into the wood and brings out the natural beauty. I don’t let the finish dry but rater wipe it off when it is still wet. This makes sure that the coat is even and not on the surface of the wood.
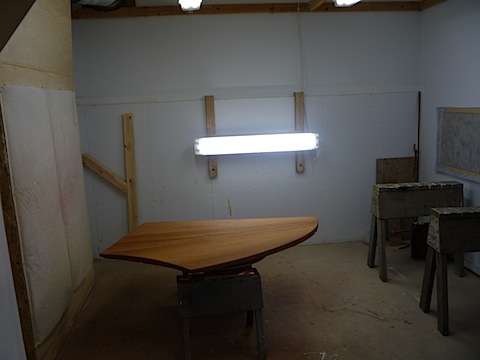
I set up the table top in the spray booth and prepare to spray on the water based finish. The product is very durable and as a bonus it is much better for the environment because it is not solvent based and made to very strict standards.
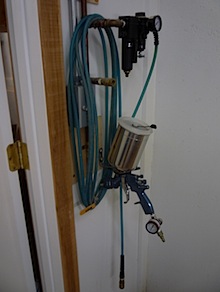
I use this spray gun to apply the first coat of the top coat.
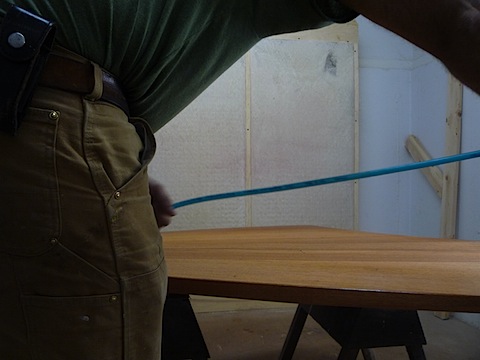
It was hard to get an action shot but this gives the idea. I spray an even layer on the whole surface.
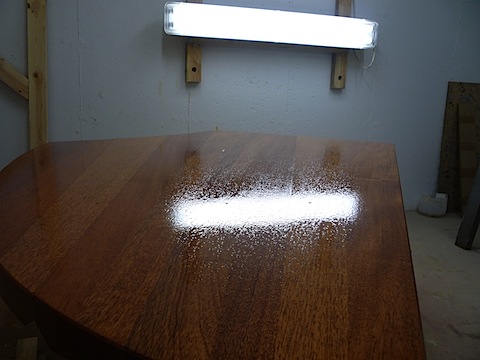
I use the reflection from this light to help see what I am doing. The light helps highlight the wet edge as I try to get an even layer of finish.
When the finish dries I sand it with fine sand paper. This begins the process of leveling the finish.
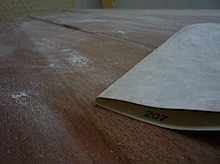
I spray it again and again and again. For the final sheen I rub out the finish with steel wool and a bit of wax to help give the table a fantastically smooth feel.
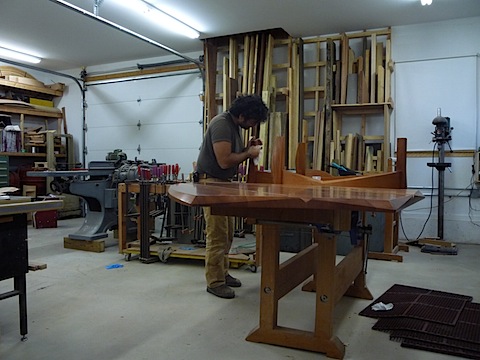
I always like to photograph the finished piece as it heads out the door. I am very happy with the way this table turned out so I will definitely want to add it to my Tables section of my website.
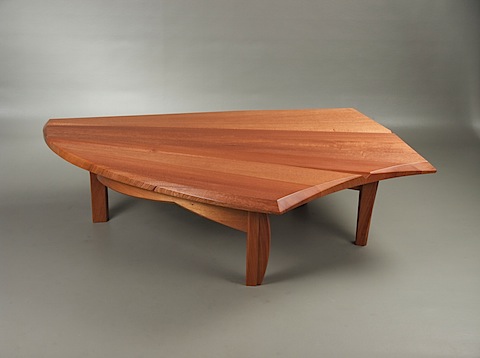
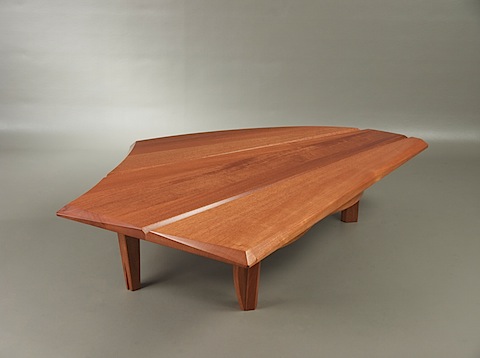
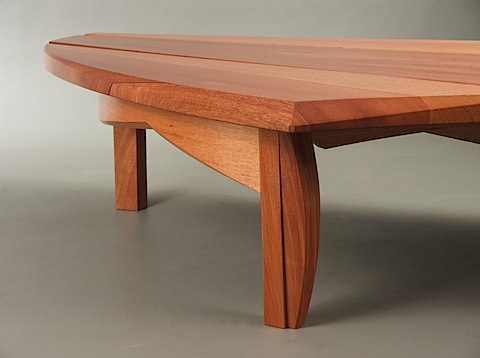
Happy Thanksgiving!
Tomorrow I deliver the table. I cant wait to see how it looks in its new home!
Coffee Table Commission
Part 1
Part 2
Part 3
Part 4
Part 5
Part 6
Part 7
Part 8
Part 9
Part 10
Coffee Table Part 9 – The Final Composition
The under structure now behaves as a single mass. It needs a bit of extra support and I need to provide a system to attach the legs to the table top. I can accomplish both with the addition of these two pieces of wood.
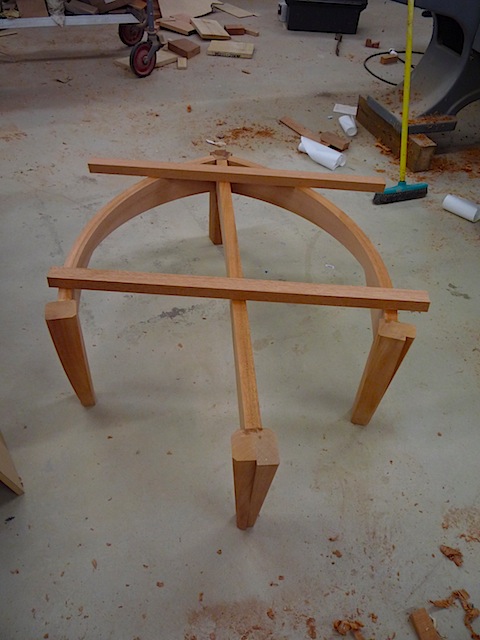
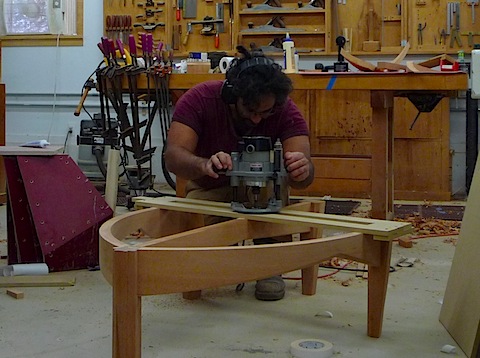
I am going to use a router with a collar to blast out the channel for the cross pieces. The collar rides in the rectangular cut out below.
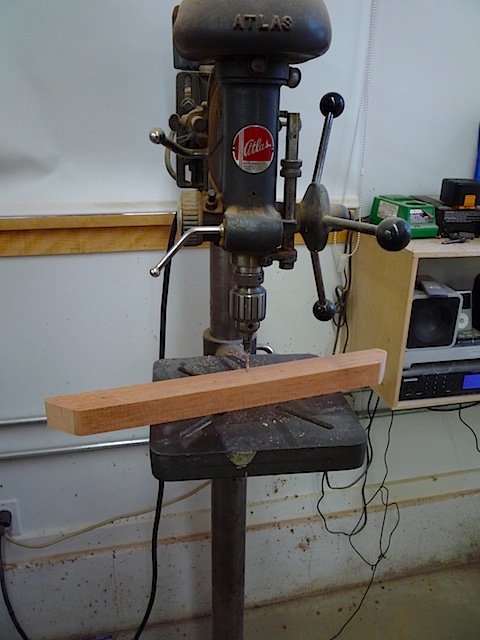
I trim and then drill the cross pieces on the drill press. I make some of the holes oversized to allow the table top to expand and contract. You cant stop wood from moving so I must allow for it.
The under structure is attached to the table top. I have added the two additional curves in the front of the photo. They allow me to add extra support to the legs. As a bonus I like the way they add to the composition.
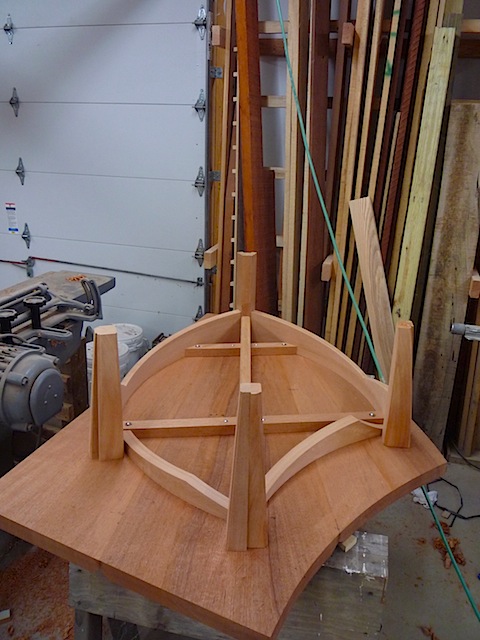
I flip the table over and I can now concentrate on composing the top of the table.
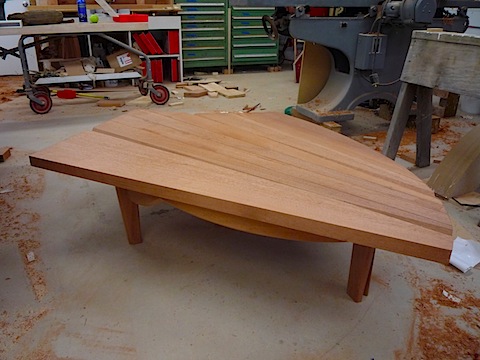
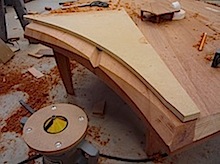
I use a router to rough out the facets on the table top. Then I use hand tools to clean them up.
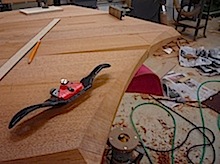
I sand the table top with a power sander.
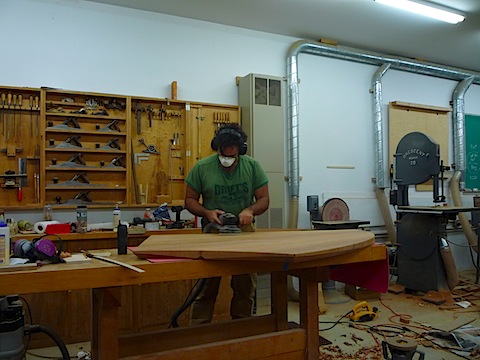
I follow that up with a thorough hand sanding.
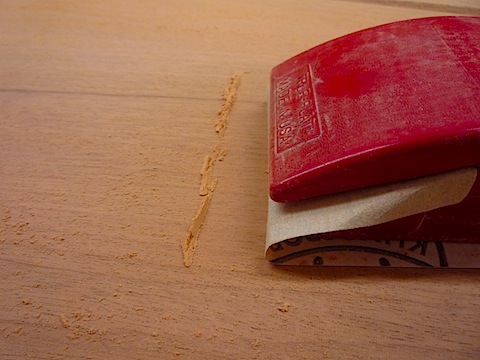
The under structure gets treated to the same hand sanding. There is nothing left to do but put on the finish! Well there is one more thing to do…
Sign the piece!
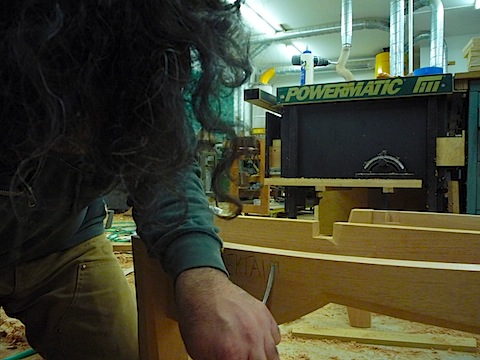
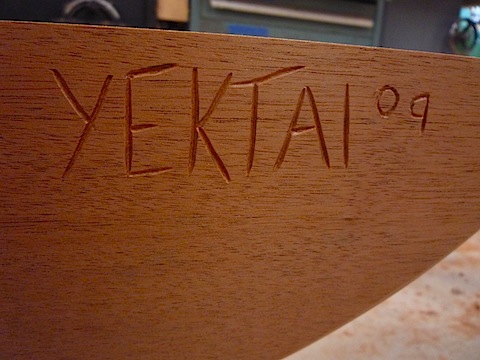
Coffee Table Commission
Part 1
Part 2
Part 3
Part 4
Part 5
Part 6
Part 7
Part 8
Part 9
Part 10
Coffee Table Part 8 – The Under Structure
Now that I have seen the table for the first time I can start to finalize the shaping on the legs. Everything is chunky and needs to be cut, tapered, shaved and faceted until the table is tied together as a cohesive whole. This is the type of active woodworking/design that my style promotes.
I begin with a flexible curve, a straight edge and my pencil.
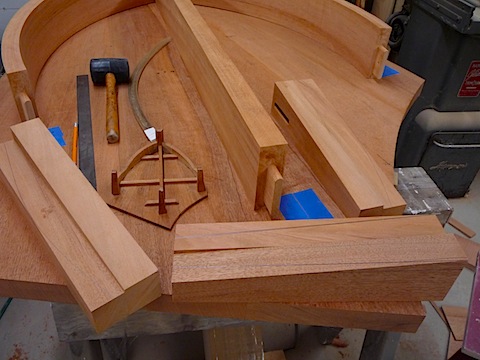
Off to the bandsaw and then the edge sander to clean them up.
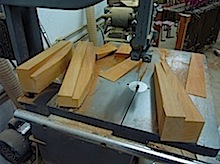
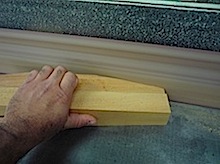
The curved stretchers go through a similar process. I sketch on them with a pencil then its off to the bandsaw. These pieces will require some hand work to clean up. Hand tools are amazing if you know how to use them.
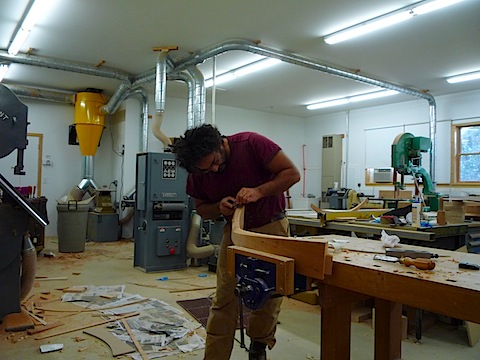
All of the parts get sanded by hand. Now I can figure out how to glue this all together.
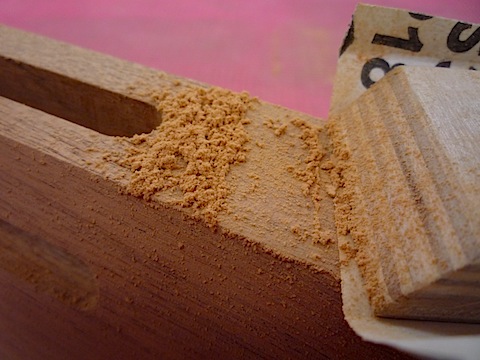
This stage needs to be carefully planned out. There is nothing worse than a glue up gone awry.
I feel comfortable so I spread glue on both parts of the joint. Clock is ticking as the glue starts to set up.
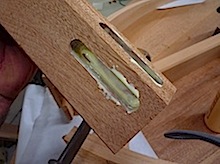
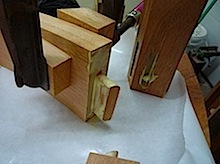
So far so good! I will wait for the glue to dry and then glue on the other three legs.
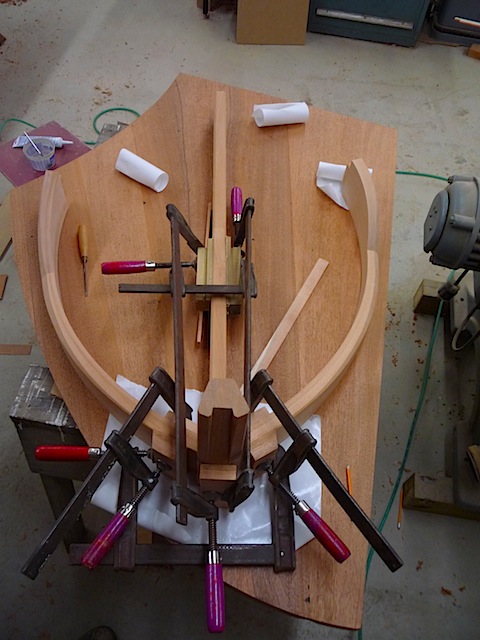
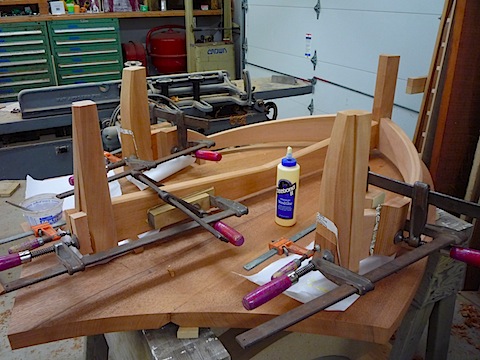
Again I will have to plan out every detail. I think I am ready to go.
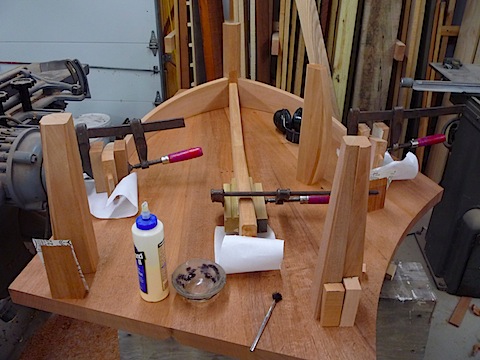
Done! Everything went together perfectly.
Coffee Table Commission
Part 1
Part 2
Part 3
Part 4
Part 5
Part 6
Part 7
Part 8
Part 9
Part 10