Coffee Table Part 7 – Mortise and Tenon Joinery
The fun part!
I am now going to focus on the classic woodworking joint- the mortise and tenon. Evidence of this joint dates back to the furniture in the Great Pyramids in Egypt. I am quite sure that every woodworking culture has developed the same or similar joint. The reason is twofold. First the joint is strong. One piece of wood slips into the other. The result is a piece of furniture can take volume without glue. The second great advantage of the joint is that it creates a perfect situation for glue. Wood is a strange material in that it can be glued together successfully except for the end of a board. Glue does not work there. The beauty of the mortise and tenon joint is that it takes a situation where you would have one of those end grain joints and creates long grain to long grain glue surface.
Here we go.
As usual this sort of precision work begins with having a clear plan and lots of pencil lines.
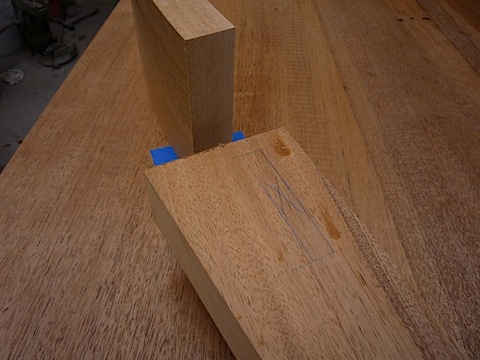
Off to a modern machine, The Multi-Router, to help create this classic joint.
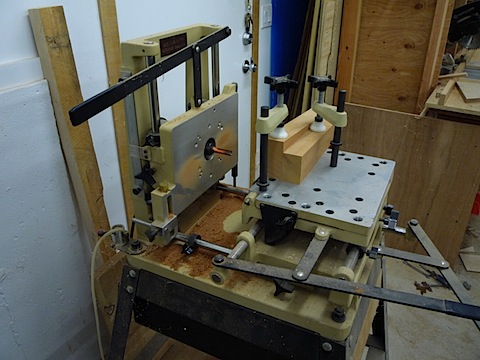
The work is clamped to the table and the router bit cuts the slot, also known as the mortise.
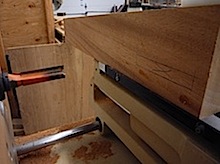
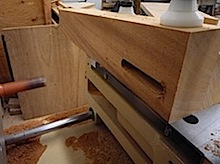
Here are two of the legs.
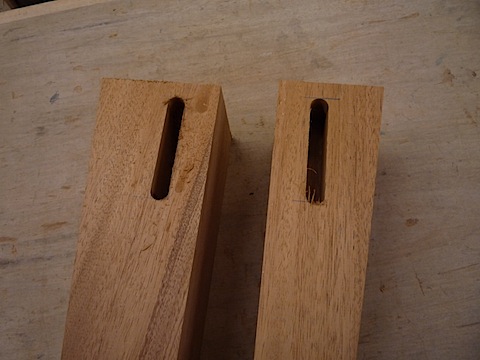
This intersection is going to be tricky.
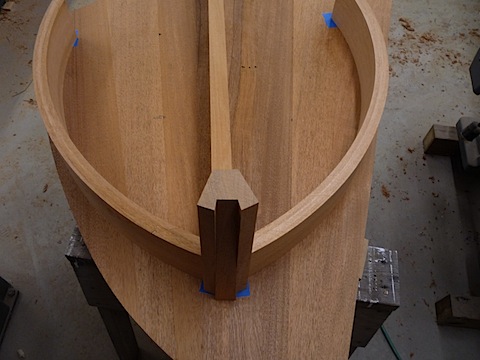
I have to prop the leg up to accommodate the various angles of this intersection.
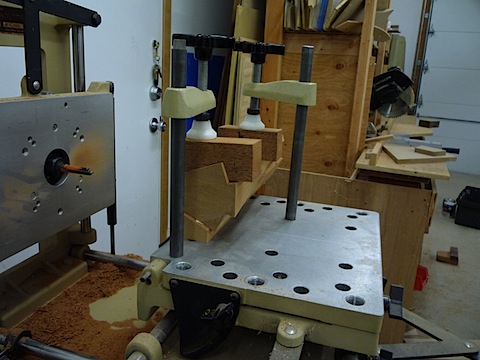
All done with the mortises!
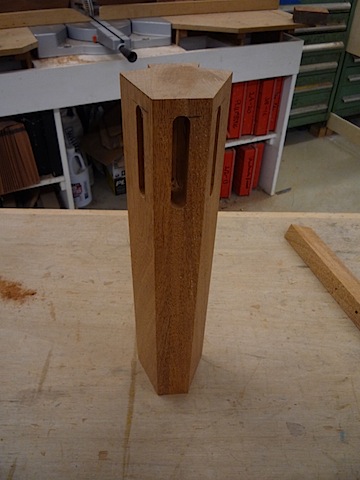
Here is where this machine really shines. I can cut integral tenons with it. This adds another level of quality to my woodworking arsenal.
There is a stylus that will follow a pattern. The result is that the router bit will copy the tenon shape to the end of this curved stretcher.
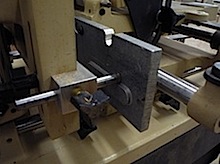
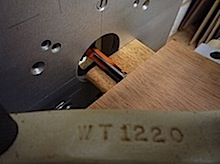
It is quite the operation.
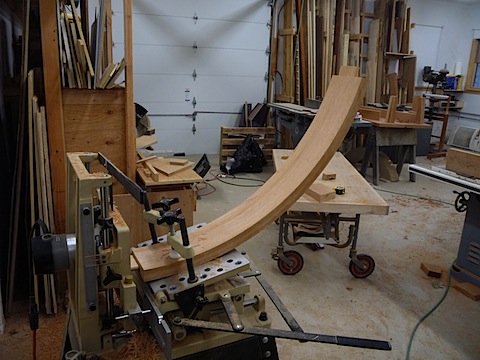
Ready to go together.
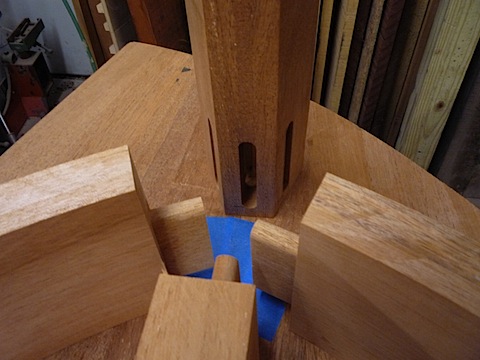
This is a good example of the mechanical advantage of this sort of joinery. The structure can stand without glue.
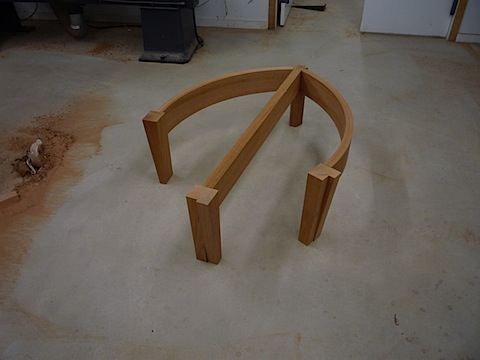
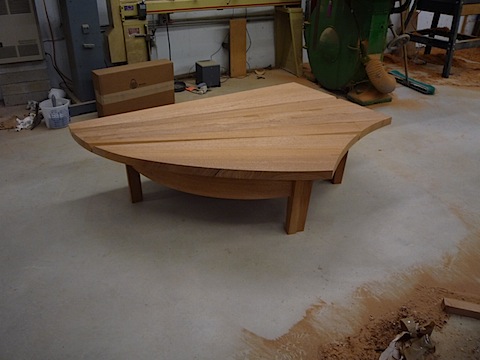
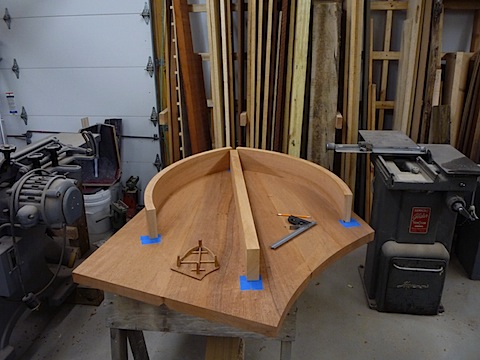
The first look at the table!
Coffee Table Commission
Part 1
Part 2
Part 3
Part 4
Part 5
Part 6
Part 7
Part 8
Part 9
Part 10
Coffee Table Part 6 – Making The Legs
It is time for me to make the legs. I have collected the short bits of mahogany that were cut off of other parts of the table. I take them to the chop saw to hack them to the rough length of the leg.
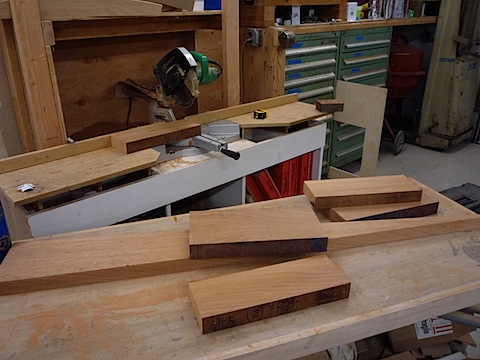
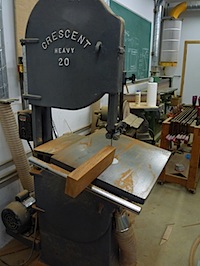
On the way to my workbench I have rough cut the angles on the bandsaw. My style allows for spontaneous composition as the piece of furniture is made. It is fast and it is fun. The finished furniture is a visual record of the decisions that i have made along the way.
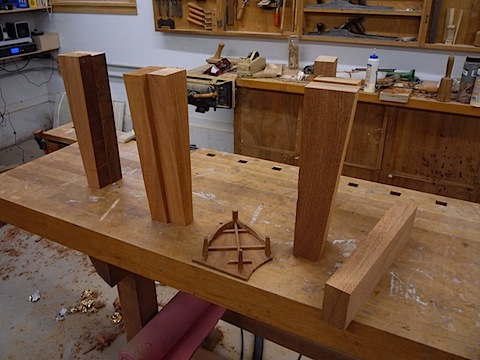
The final leg is more of a challenge. It is comprised of three pieces of wood that need to add up to a specific angle. This is a major intersection in the joinery of the table. I use the bandsaw to make the first angle cut.
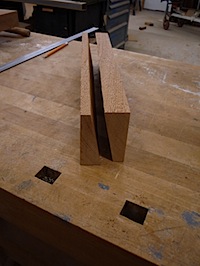
I position the parts on the actual table so there is no guesswork. This helps me visualize and measure the third piece that makes up the leg.
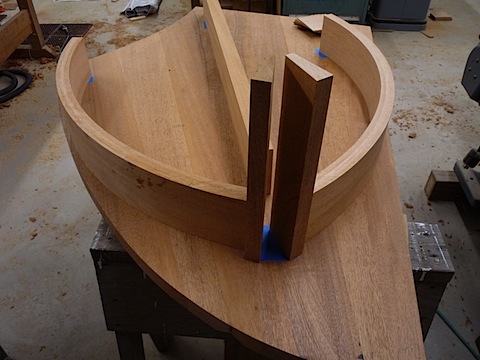
The first three legs are carefully glued up.
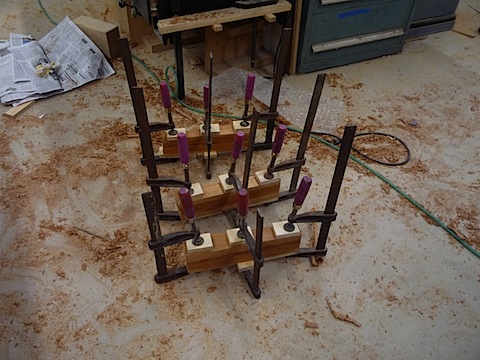
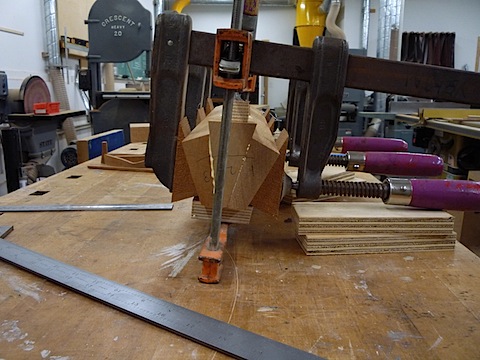
The final leg is more of a gluing challenge. I need to make sure that the wedged pieces don’t slip out of alignment.
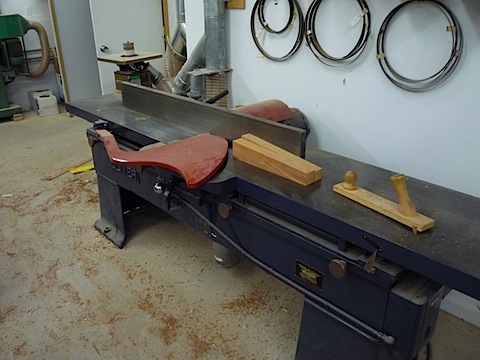
I need to refine the legs by bringing them to the jointer. I will flatten one face.
Next stop is the Hammond Glide Saw this saw is being repurposed by me. The saw was originally designed for the printing industry. It was used to cut lead type for letterpress printing.
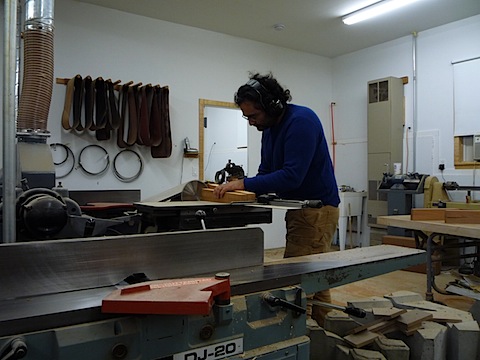
The great feature is the ability to raise the blade to a height of almost 5 inches and the super accurate sliding table.
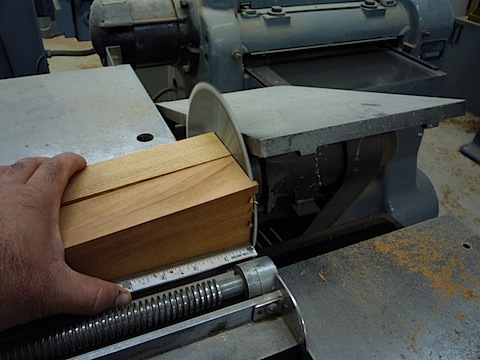
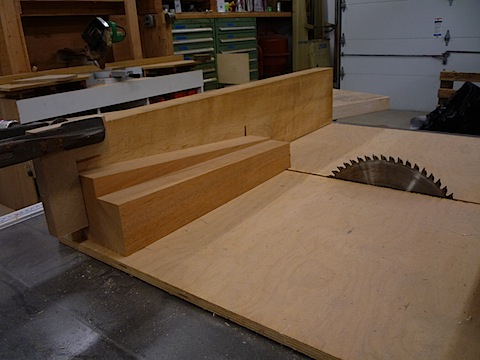
I trim the other end of the leg in the table saw with the help of the cross cut jig. I clamp a stop to the fence so that all of the legs end up the same exact length. Woodworking is a precise exercise. This is why the freedom that my style allows is so important to me. I ned it as an antidote to this sort of multi step pre planning.
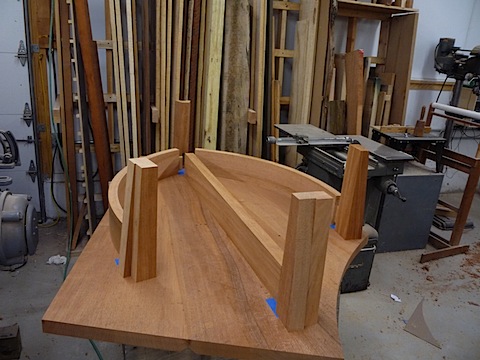
Its time to see how well everything is fitting. I butt the stretchers up to the legs and make sure that the angles were cut correctly. Once I am happy it is time to cut the joints that will hold everything together.
Coffee Table Commission
Part 1
Part 2
Part 3
Part 4
Part 5
Part 6
Part 7
Part 8
Part 9
Part 10
Coffee Table Part 5 – Refining The Laminations
The glue dries for about 24 hours and then I can undo all of the clamps. This glue dries like glass so the squeeze out has to be cut off.
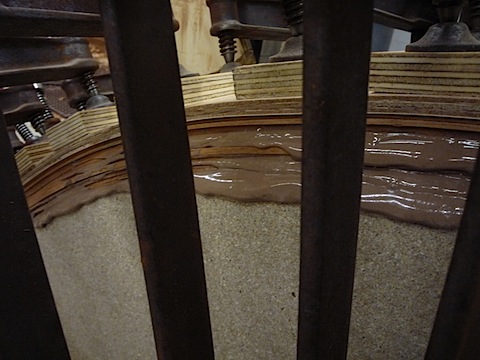
I put the lamination on my workbench and draw a line that I will follow on the bandsaw
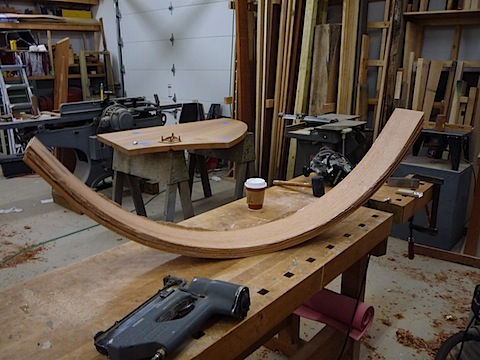
This is advanced stuff so no one should attempt to do this sort of acrobatic cutting.
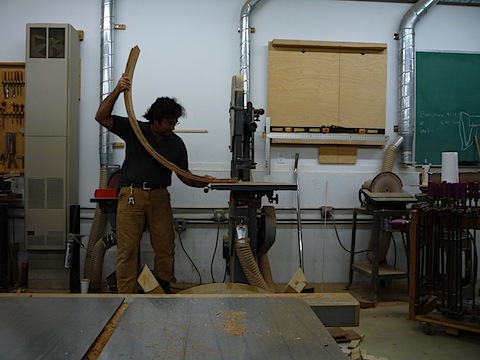
Off to the jointer to clean up the bandsaw marks. I have cut off the excess glue so it should be much nicer to the knives in the jointer.
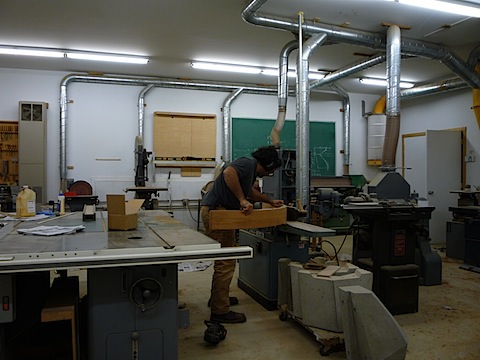
To the table saw for the final acrobatics. To make the other edge glue free and parallel to the band sawed and jointed edge
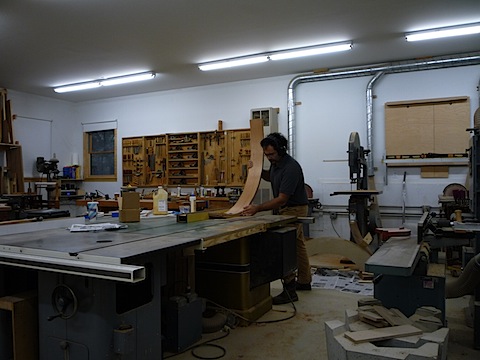
The bent lamination will always be open at the ends. I make sure to leave lots of material to be cut off. That way the part I need is perfect.
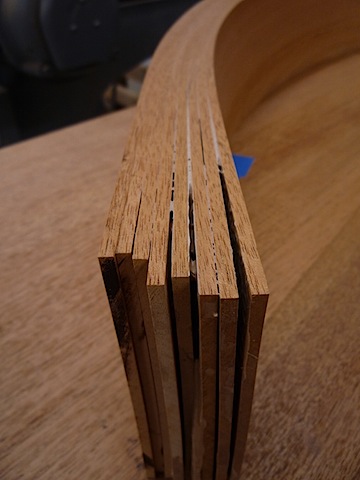
Here you can see that the lamination lines are almost invisible.
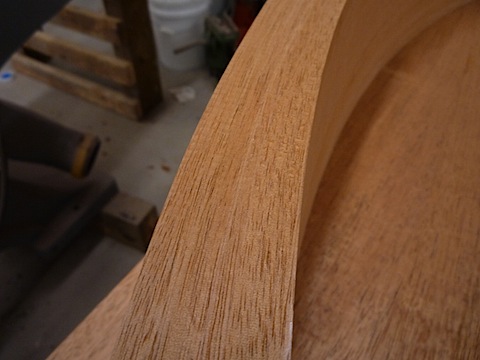
I need to prepare the other curve and I will be able to shift gears to the joinery of the legs and stretchers.
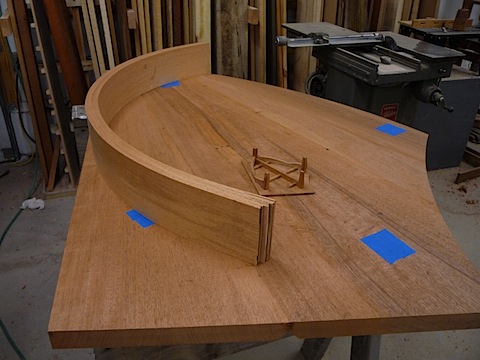
The ends of the stretchers need to be cut to length. I am leaving enough room to cut integral tenons on either end. this will be explained in detail in a later post.
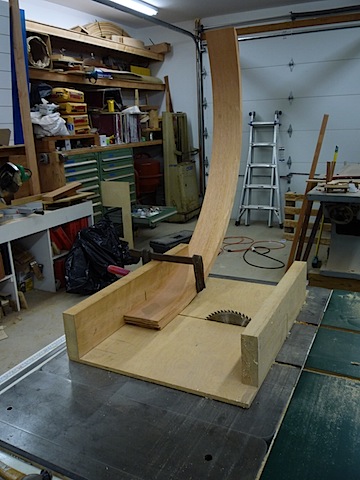
Now the other end needs to be cut to length.
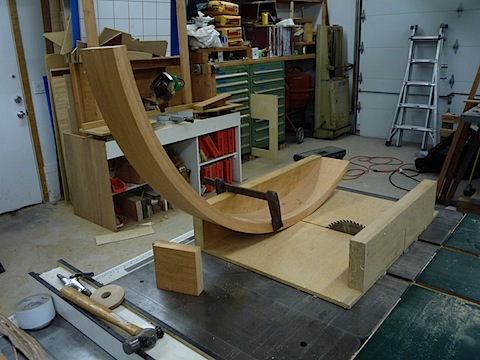
Time to start to think about making the legs! I love this stage of the project. Soon, very soon, I will be able to flip the table over and see it for the first time.
Coffee Table Commission
Part 1
Part 2
Part 3
Part 4
Part 5
Part 6
Part 7
Part 8
Part 9
Part 10