Coffee Table Part 1 – Construction Begins!
I have been working on a Mahogany coffee table. This commission started like all of the rest, with a visit to the clients house. I then retreated to my studio to pour over my measurements and begin to design the table. Before too long I was well organized so I went ahead and built a model. Now things began to feel a bit off. It wasn’t the design, it was the scale that seemed off. The clients immediately confirmed my suspicions and commented that the table seemed big. A few days later I brought a cardboard cut out of the giant table to the clients house. Loosing the proportions ended up providing an opportunity to have a dialog with the clients as I cut the cardboard down to size. I enjoyed the process and the clients found it helpful so it will now become a standard part of my presentation! A nice discovery.
Here we go. The rough Mahogany boards that will form the table top.
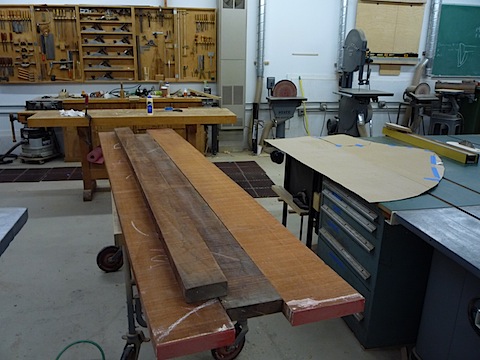
They then get chopped to the rough size.
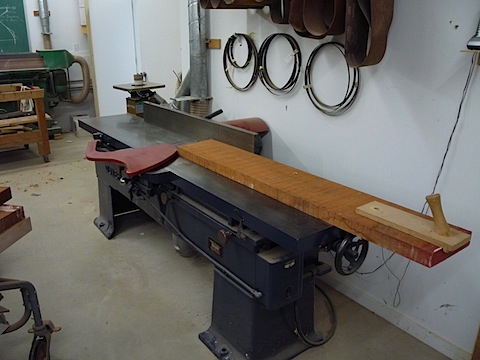
Off to the jointer to flatten one side of the boards. It takes two passes per board to get them perfectly flat.
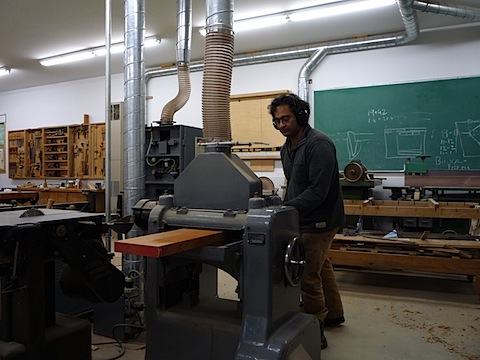
Next stop is the Planer. The newly flattened side faces down and rides on the precision table. The cutter-head makes the top face as flat and parallel to the jointed face.
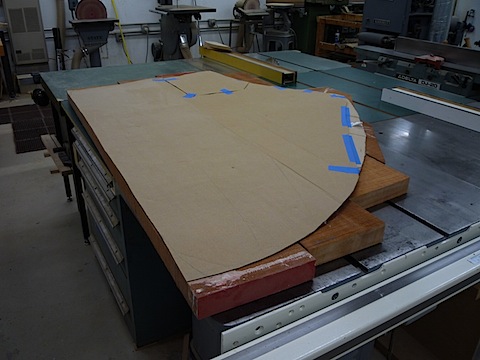
The processed lumber goes back together and the model comes out for reference.
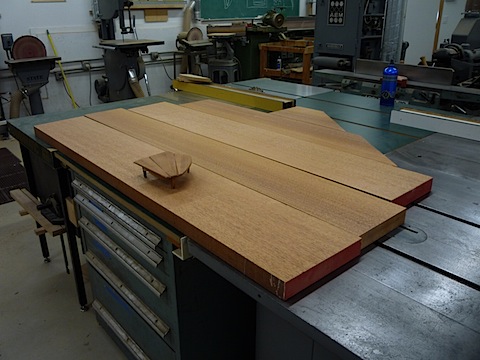
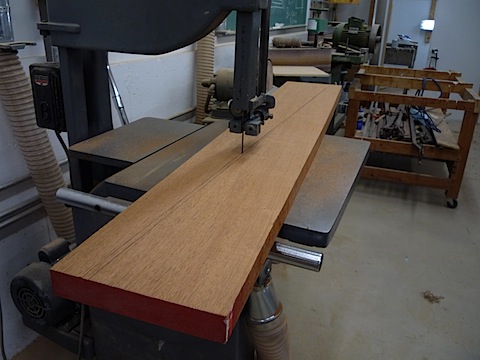
I want each board in the table top to have a wedge shape. This is an integral part of the design so I mark each board and head off to the bandsaw to rough cut the shapes
Here is the fan shape. I have run the edges over the Jointer so they are perfectly flat and ready to glue together
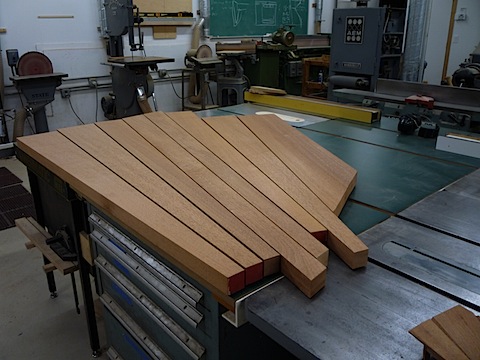
I will break the table top up into a number of different glue-ups. This will give me an opportunity to shape and detail the table as it evolves.
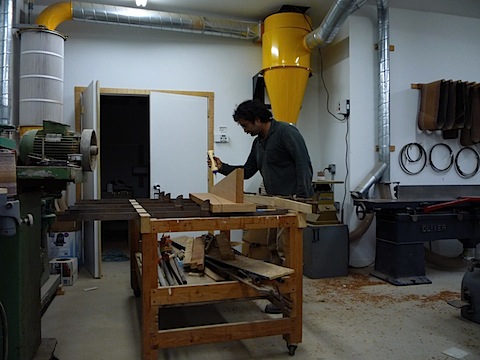
I coat each joint with aliphatic resin glue AKA Yellow woodworking glue.
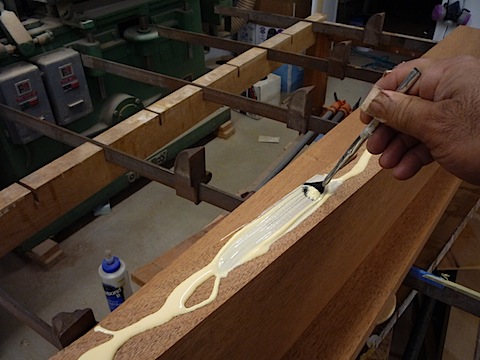
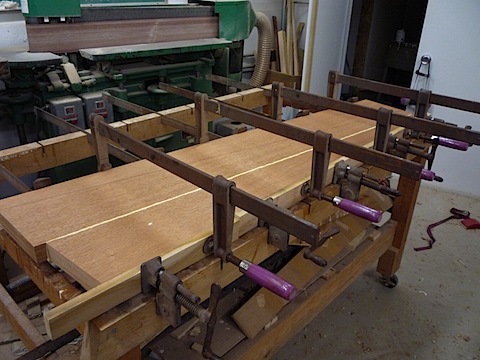
Then the joint gets clamped together. Even pressure will close the joint that was prepared earlier on the Jointer.
Coffee Table Commission
Part 1
Part 2
Part 3
Part 4
Part 5
Part 6
Part 7
Part 8
Part 9
Part 10