Mirror With Two Drawers – Dovetails
This new piece offers one more technical woodworking process that has not yet made an appearance in these ramblings. The dovetail is one of the classic woodworking joints that speaks of craftsmanship and individuality. I will be using the joint to make the drawers.
The drawer stock has been cut to side and the layout process can now begin. I set a marking gauge to the exact thickness of the drawer side
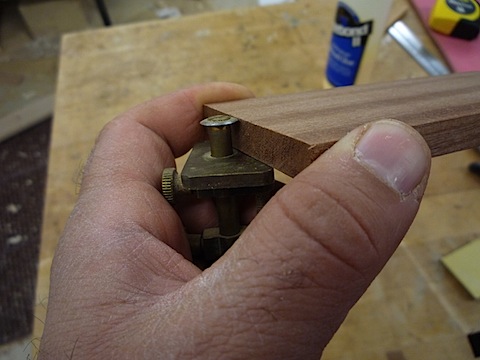
I use the tool to scribe a knife line on the edge of the board. The slight depth of the knife line will allow my chisel to lock in. This is the only way to chisel a straight line.
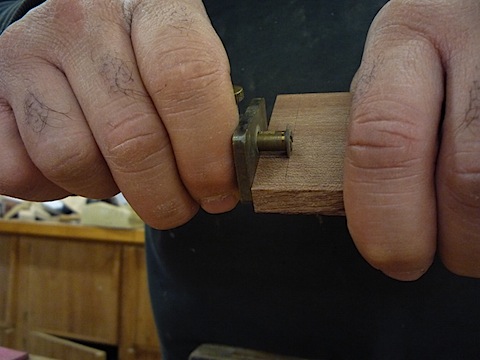
I place the board in my bench vise and use a different layout tool to draw the angles of the pins on the end of the board. A dovetail joint is made up of a matched set of pins and tails. I always cut the pins first. Some woodworkers cut the tails first- not me.
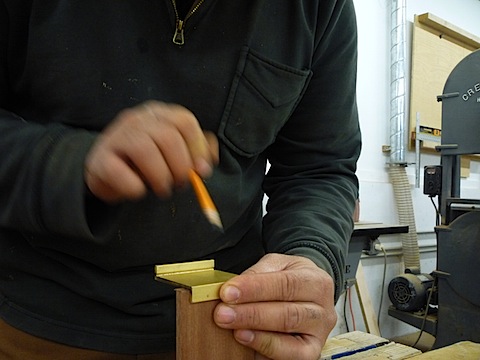
I always put an X in the part that needs to come out. I have made the mistake of cutting tot he wrong side of the line which results in sloppy dovetails. The X helps me remember to saw on the waste side of the line for a perfect fit.
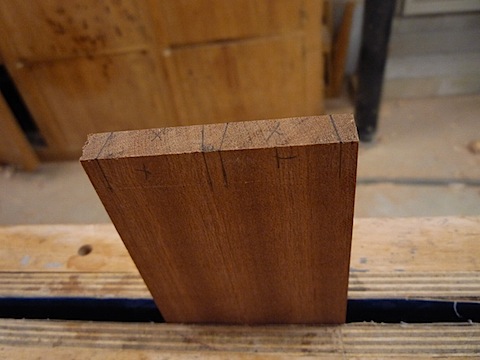
The best way to do the cutting is with a hand saw. I saw on the X side of the line and I go right up to the knife line. If I saw past the knife line the joint will be ruined. Sawing is one of those activities that benefits from practice. If you are doing this for the first time practice cutting some straight lines. It will pay off when you cut the dovetails.
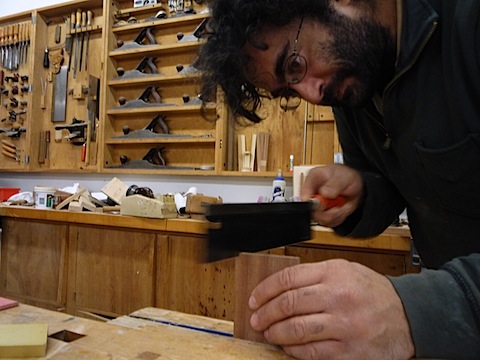
The next step involves chiseling the waste out. This is best described via video.
I got into my work and I did not document the rest of the process. I will continue with the drawer from a different project. Below you can see the half chiseled waste. I will flip the board and clean up the rest from the other side.
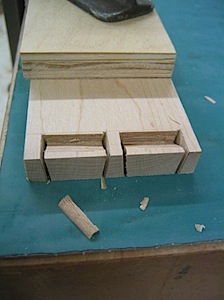
I place the pin board on the matching side and use a sharp pencil to accurately lay out the other side of the joint.
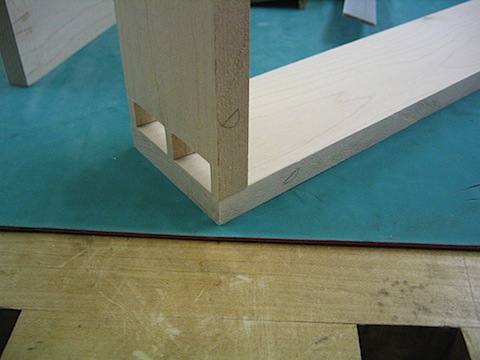
Back tot he hand saw and chisel to form the tales. It is the same process that I used to make the pins.
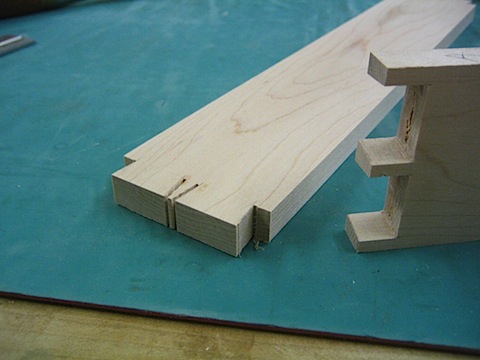
Ready to go together
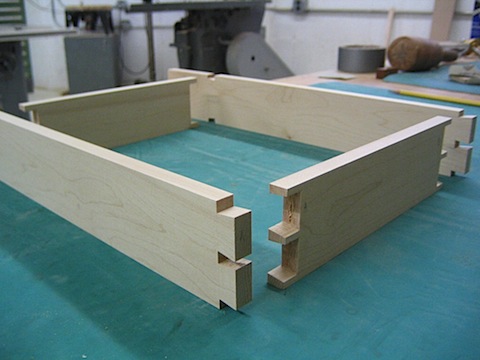
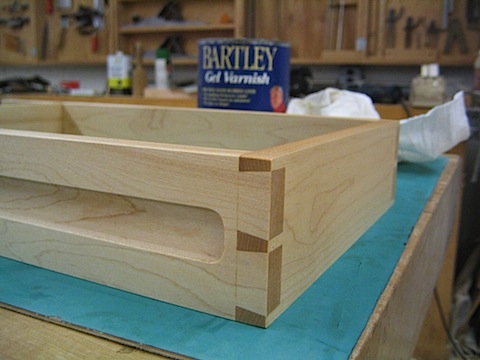
The end results!
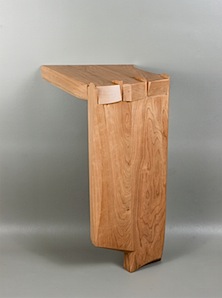
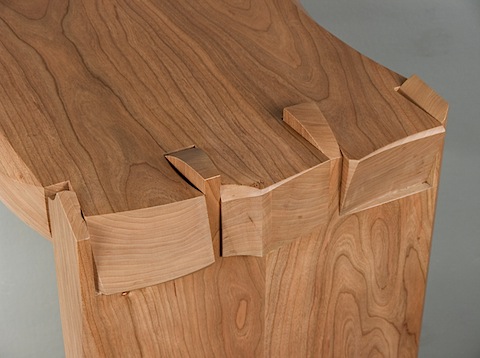
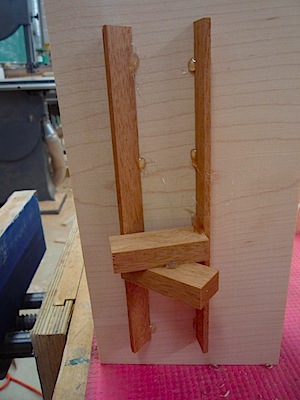
I often use the dovetail for more than it was intended. I push the pins and the tales past each other and then cut and facet them into the composition. The result is a tectonic landscape of movement. The dovetail become the structural decoration in the piece. Here is an example of large dovetails in this piece that leans against the wall.
 By Nico Yektai -
New York based designer/maker Nico Yektai opened the doors to his Hamptons studio in 1995 after completing the MFA program at the School For American Craft at the Rochester Institute of Technology. The rigorous technical training complimented his background in Art History, which he studied, at Hobart College in Geneva NY. Yektai has synthesized this background into a singular style that has gained him national attention. Visit nicoyektai.com for more information
AD Show In New York City
Update: I will be participating the 2011 Architectural Digest Home Design Show
Architectural Digest Home Show in NYC 2010

Booth M81 Mar 18-21
The Architectural Digest Home Show will be taking place in New York City on Pier 94, March 18-21, 2010. Nico Yektai will be exhibiting his modern furniture in the Made section. The Made section was introduced a few years ago to showcase designer/Artist made objects for the home. Booth M81 will feature half a dozen pieces of furniture that will showcase the artists unique perspective on furniture. These pieces will be ready to move straight into your home or project or serve as a starting point for further discussions about a commission.
Thursday March 18 10am-6pm (Preview + Industry)
Friday March 19 10am-6pm
Saturday Mach 20 10am-6pm
Sunday March 21 10am-6pm
More Information on tickets, pricing, location and parking

 By Nico Yektai -
New York based designer/maker Nico Yektai opened the doors to his Hamptons studio in 1995 after completing the MFA program at the School For American Craft at the Rochester Institute of Technology. The rigorous technical training complimented his background in Art History, which he studied, at Hobart College in Geneva NY. Yektai has synthesized this background into a singular style that has gained him national attention. Visit nicoyektai.com for more information
Mirror With Two Drawers – Veneer
I always like to present a broad range of work when I have an opportunity to show my furniture. I have two shows coming up. ACC Baltimore and the Architectural Digest Home Show in NYC. Both shows would benefit from a slender wall mounted mirror. I got out the hot melt glue gun and started to design the piece. It quickly evolved to the point where I had enough designed to know that the Mirror and drawer combination was going to make for a compelling composition.
This is the 3-D sketch of the new Mirror with two drawers. This sketch represents the bare minimum that is needed to get started. Lots of choices remain to be made during the construction of the piece. The implication of this type of construction is that I have to build the piece. This immediately establishes that my work is about more than just the functional result. It is about the exploration of one person. I digress – this is a glimpse of the ongoing conversation in my head about “Art Furniture” Perhaps someday I will dedicate a post to trying to further sort out these ideas.
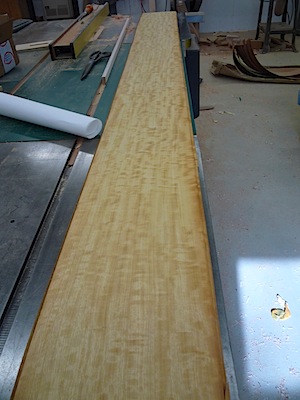
I am going to focus on the fabrication of the two drawers and their carcasses (the box that a drawer goes into). I wen to my veneer shelf and pulled out this ‘Unknown B’ veneer. I purchased it years ago at an auction that benefited WARP. The veneer was 30+ years old when I purchased it and the species of wood had long been forgotten.
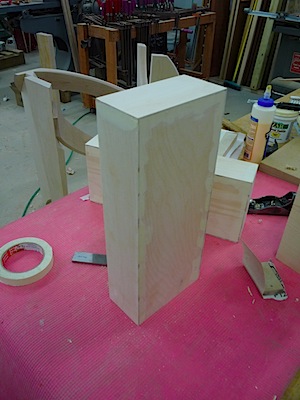
I quickly make two plywood boxes that i intend on wrapping with this veneer.
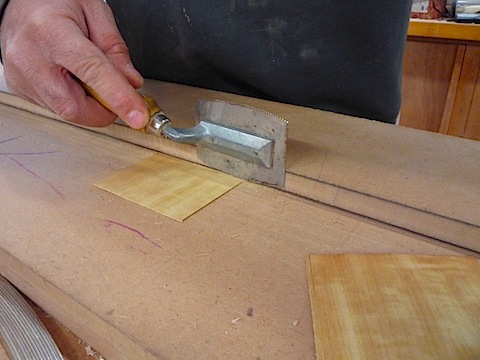
Cutting the veneer is facilitated by the use of a specialized saw. It a hybrid device part saw and part knife. It allows me to cut the delicate veneer without destroying it.
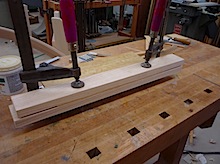
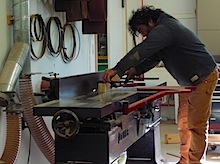
The edges of the veneer are cleaned up via the jointer. I clamp a number of these sheets together and treat them like a single piece of solid wood. The jointer makes them all perfectly flat at the same time.
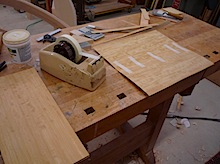
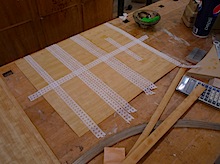
The next step is to pull the joint together with masking tape. It stretches just enough to provide just a bit of clamping pressure tot he joint to bring it home. Next the sheet gets flipped over and a special veneer tape seals and reinforces the joints. The tape is water activated. It shrinks just a bit as it dries. The veneer tape is now holding the joints closed. I flip the sheet and remove the masking tape.
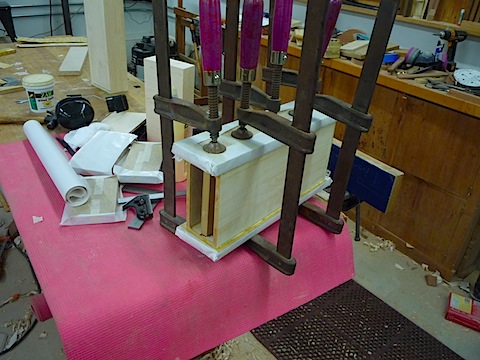
The veneer is glued to the carcass one pair of sides at a time.
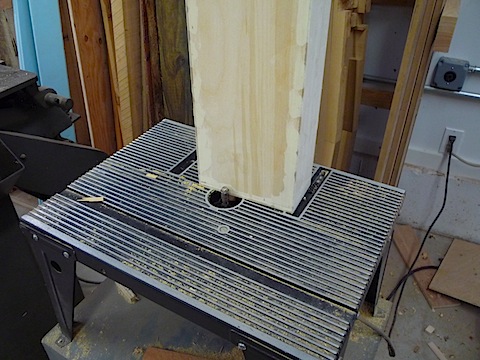
The excess is trimmed off with the help of a router bit with a top bearing.
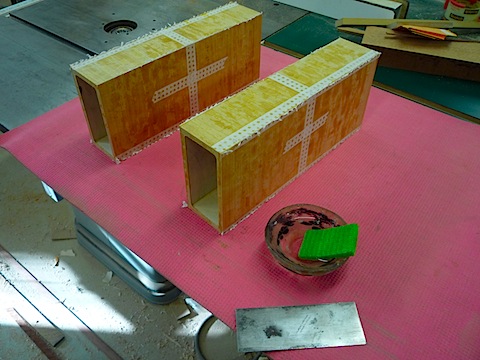
The boxes are now wrapped in veneer!
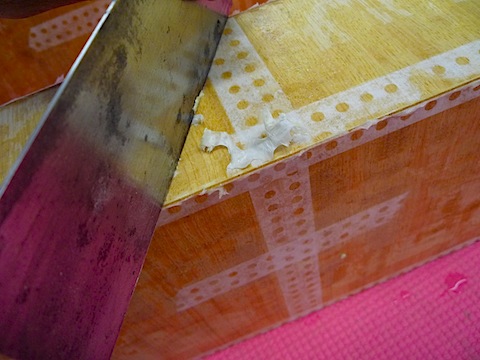
Once the glue is fully cured (about 24 hours for yellow glue) I use water to re moisten the veneer tape. A scraper blade helps to remove it. Now they are ready to be sanded.
I break out my sample box of veneer as I clean up for the day. The satin wood samples jump out at me as a possibility.
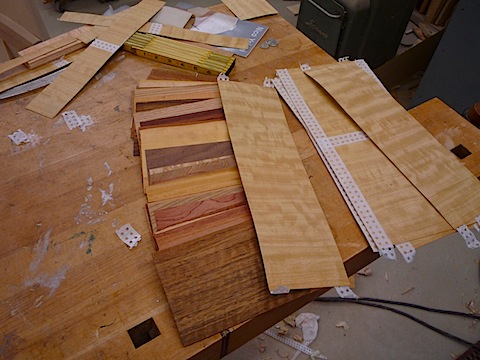
Not a perfect match but possible. I think I will continue to refer to it with the name it had when I purchased it… “Unknown B”
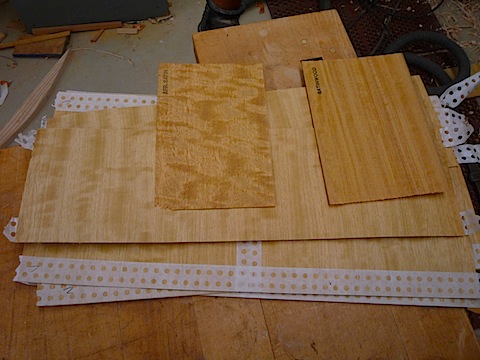
Here is what I love about veneer.
 By Nico Yektai -
New York based designer/maker Nico Yektai opened the doors to his Hamptons studio in 1995 after completing the MFA program at the School For American Craft at the Rochester Institute of Technology. The rigorous technical training complimented his background in Art History, which he studied, at Hobart College in Geneva NY. Yektai has synthesized this background into a singular style that has gained him national attention. Visit nicoyektai.com for more information