Coffee Table Part 4 – Laminates And Glue
I am going to prepare the mahogany laminates for the bending form. It begins with a rough piece of wood that need to be smoothed out on the jointer and planer.
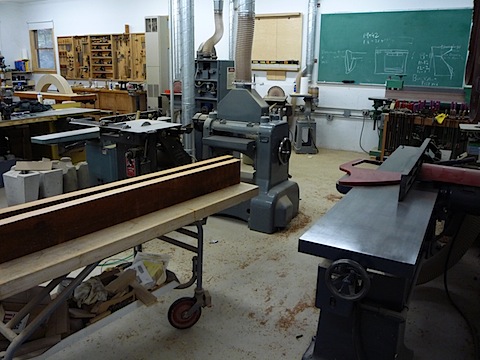
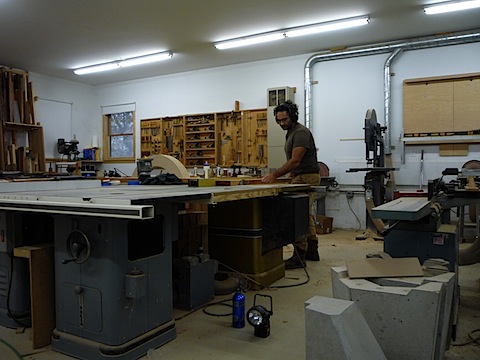
Next stop is the table saw to rip the one remaining rough edge parallel.
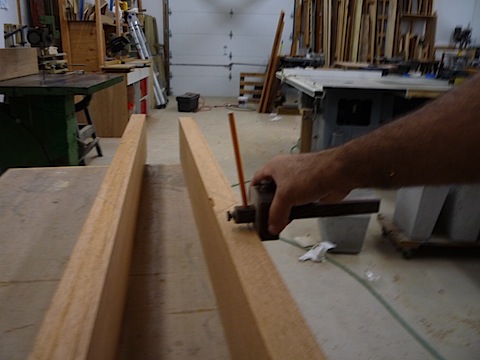
I am using a marking gauge to draw a parallel line just less than a 1/4″ thick. I am targeting a size that will be able to bend over the form without breaking.
I set the fence on the big bandsaw to that dimension.
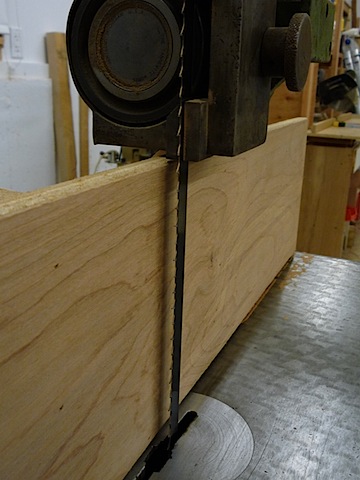
I start to peel off layers of the wood.
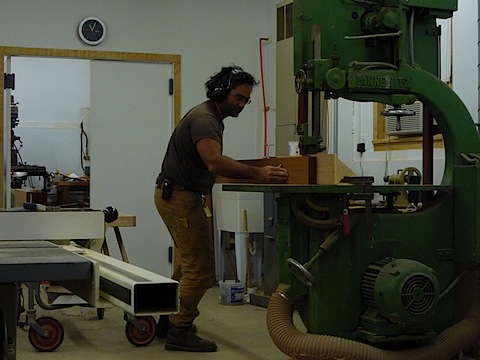
After each pass I go back to the planer to smooth out the bandsaw marks before the next pass
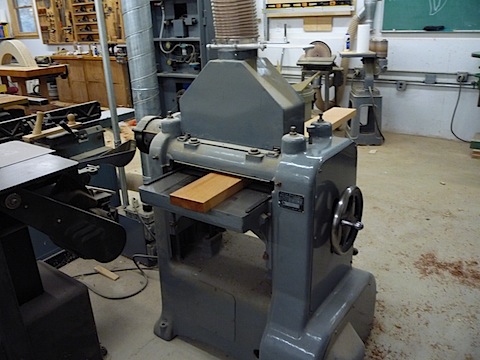
The pile of laminates is not quite ready. Each piece has one rough side from the bandsaw.
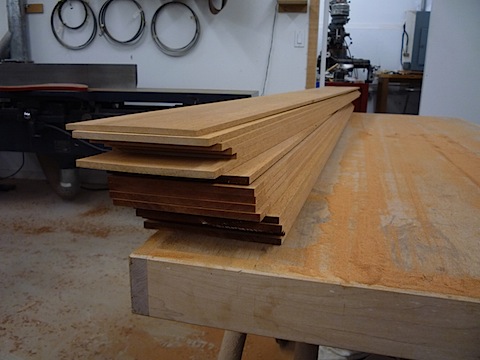
The pieces are too thin to go through the planer so I use a piece of plywood to support them.
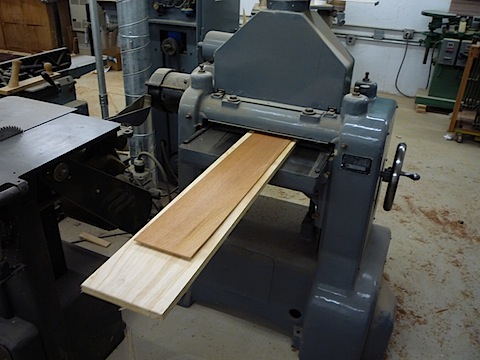
Ready for lots of glue and a tremendous amount of clamp pressure.
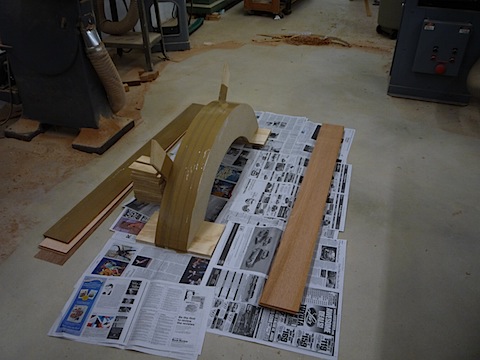
Here we go. The laminates are covered with a few layers of thin plywood to help even out the clamp pressure.
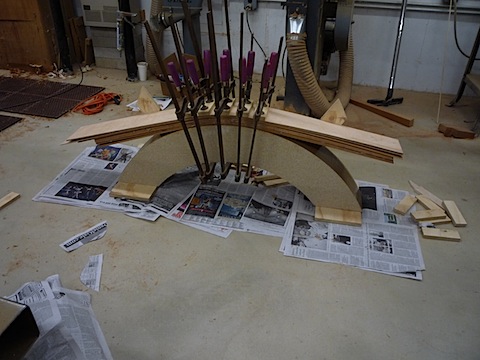
A bit further. By now I am wondering why I haven’t figured out a way to do this without having to use me hands? They hurt and there are so many more clamps to go on.
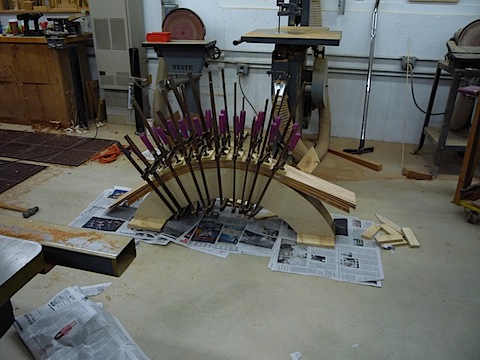
All done!
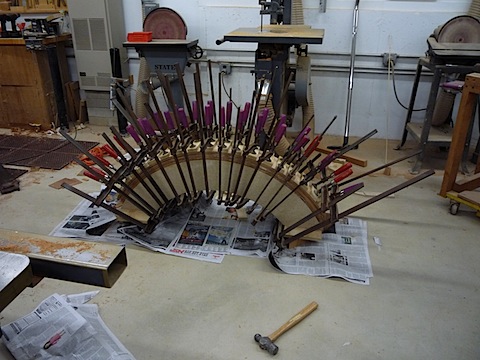
I always complain while I am doing a bent lamination. Once it is over and I have the curved wood to work with it all seams like a distant memory. The benefit to my furniture is that I now have an element that will accentuate the movement that is central to my style. Bent lamination is the technique best suited to a shop of my size making one of a kind pieces of furniture. That said I have been inventorying steam bent curves that I have been buying from a company in the Mid West. The quality has blown me away. I think it is time for me to order a variety of curves in a variety of woods. Working with them is not an option for this piece because it takes 6 weeks for the curves to arrive. If I had them in inventory I could augment those curves with the occasional bent lamination. The quality of the piece would not suffer, the cost of the materials would not be different but my hands would be a lot happier. Plus I need to take a long hard look at the amount of waste involved in the bent lamination process and compare it to the amount of energy needed to steam bend and ship from the Mid West. I have made a number of improvements to my environmental footprint since opening my doors in 1995. I think this is one more place that I can choose the “green” solution without compromising a thing. I have to pay attentions since my shop stands at about 35 feet above sea level. Such are the concerns of life in the Hamptons.
Coffee Table Commission
Part 1
Part 2
Part 3
Part 4
Part 5
Part 6
Part 7
Part 8
Part 9
Part 10
 By Nico Yektai -
New York based designer/maker Nico Yektai opened the doors to his Hamptons studio in 1995 after completing the MFA program at the School For American Craft at the Rochester Institute of Technology. The rigorous technical training complimented his background in Art History, which he studied, at Hobart College in Geneva NY. Yektai has synthesized this background into a singular style that has gained him national attention. Visit nicoyektai.com for more information
Coffee Table Part 3 – Table Top And Bending Form
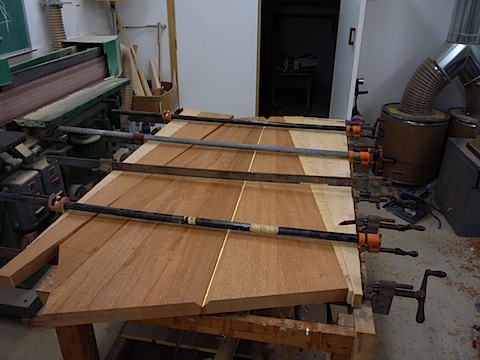
I will do the rest of the gluing in two separate operations. I use lots of wedge shaped pieces to help make the glue line perpendicular to the clamps. this helps reduce the slipping of the joint.
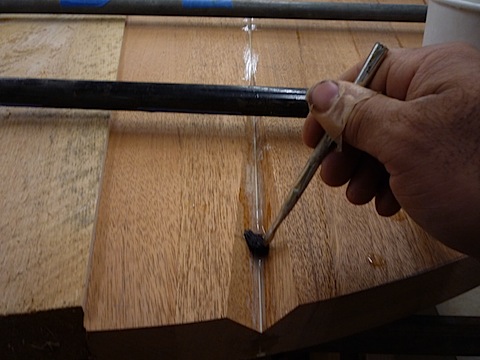
The glue is water soluble so i go in with a brush and water to clean up the joint. There will be a lot of sanding needed to clean up the watery residue but it is easier than dealing with dried glue.
Last glue up for the table top.
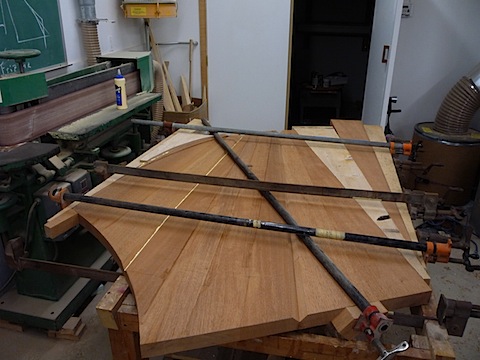
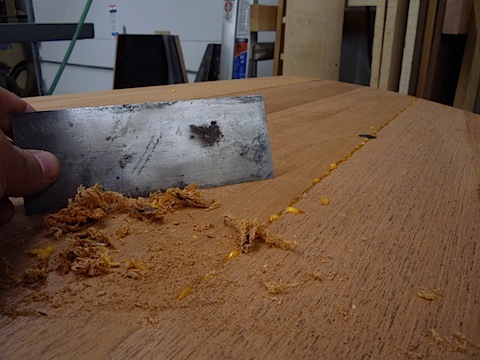
I unclamp the table and set it out of the way. It is upside down so that i can scrape the glue off the bottom.
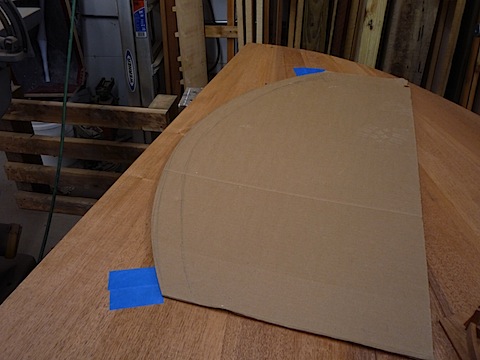
I am shifting gears now to the rest of the under structure. The blue tape represents where the legs will go. The cardboard curve will serve as a template to help make the form that the stretcher will be bent over.
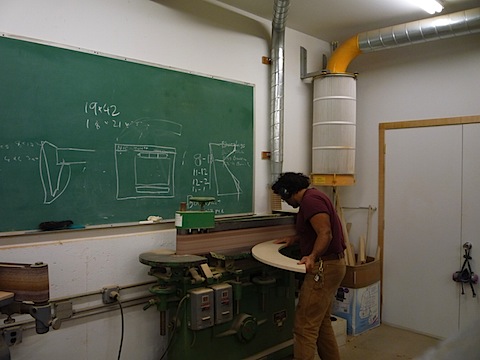
I transfer the curve to a piece of particle board. I then use the edge sander to fair out the curve. This one piece will serve as a template for the other layers that will make up the bending form. It occurs to me that this might not be all that clear since most people are not familiar with the process of making a bent lamination. I will explain in greater detal in the next post. The quick version is a board is cut into thin strips and glued together over a form. The glue dries and the board is one piece and bent! The steps below detail building the form.
I transfer the shape to the rest of the sheet.
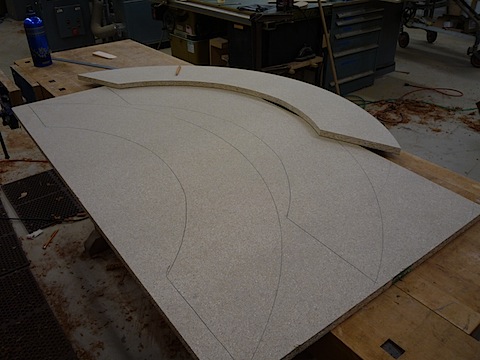
Here are all of the layers before the assembly.
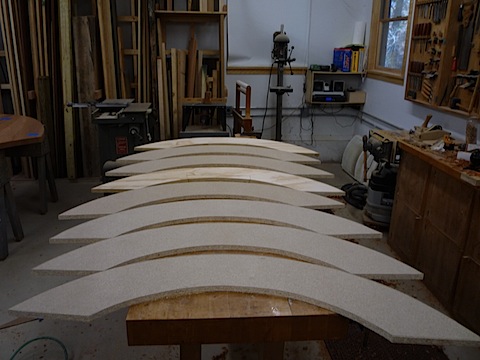
The process to put the form together will involve staples, glue and the router to follow that first piece that i refined on the edge sander.
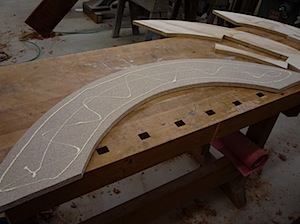
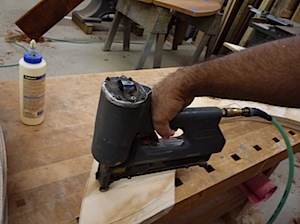
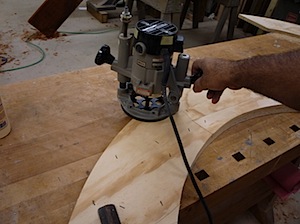
The finished form.
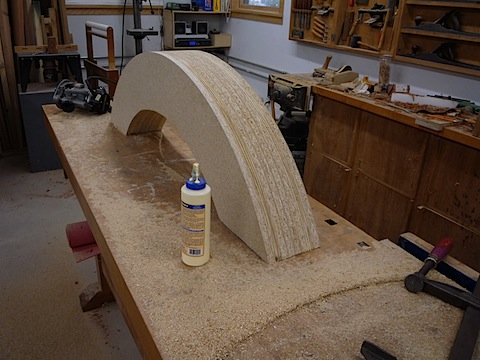
I need to build a foot to stabilize the form and cover it in brown packing tape so the glue will not stick.
Coffee Table Commission
Part 1
Part 2
Part 3
Part 4
Part 5
Part 6
Part 7
Part 8
Part 9
Part 10
 By Nico Yektai -
New York based designer/maker Nico Yektai opened the doors to his Hamptons studio in 1995 after completing the MFA program at the School For American Craft at the Rochester Institute of Technology. The rigorous technical training complimented his background in Art History, which he studied, at Hobart College in Geneva NY. Yektai has synthesized this background into a singular style that has gained him national attention. Visit nicoyektai.com for more information
Coffee Table Part 2 – The Top Takes Shape
Picking up where I left off. I now have three pieces that need to get refined. Then they can be glued-up into the table top.
I start by using my hand plane to flatten the bottom of each section. This will help when I move on to the next operation.
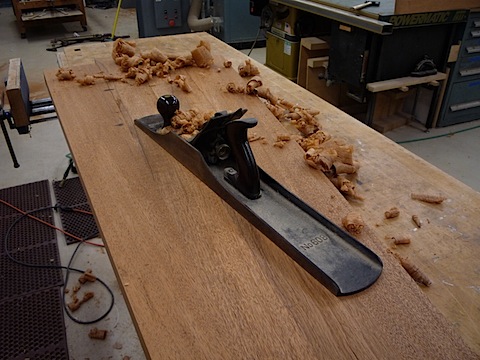
I run each board over the jointer to make sure that each joint is perfect. There is no margin for error. The size of the table top will magnify any error.
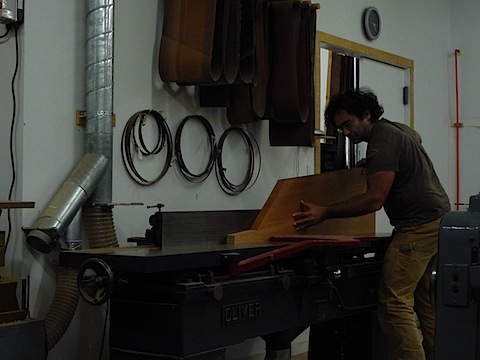
Things are so sensitive that i test each joint to make sure that they will close without clamp pressure. I also make sure that the two sections will be lie flat. If either half of the joint is off by the smallest degree it will result in a table top that resembles a Pringle potato chip.
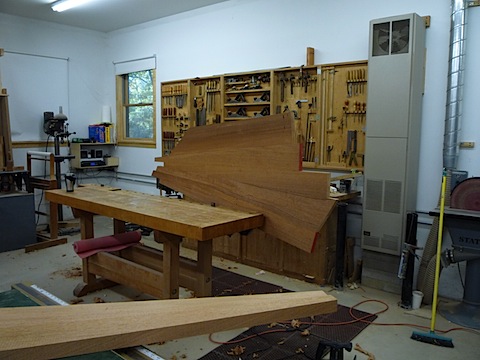
Perfect! Now I take out the biscuit jointer to cut pairs of matched slots to aid in aligning the sections.
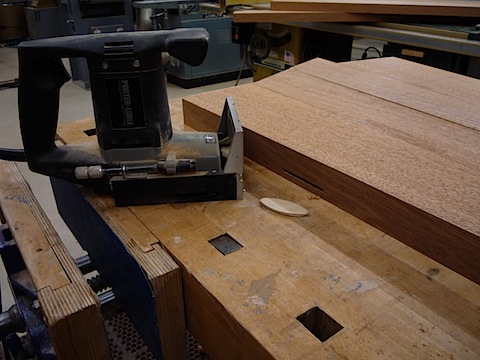
When I press the two sections together the biscuits will not allow the boards to misalign. Very helpful.
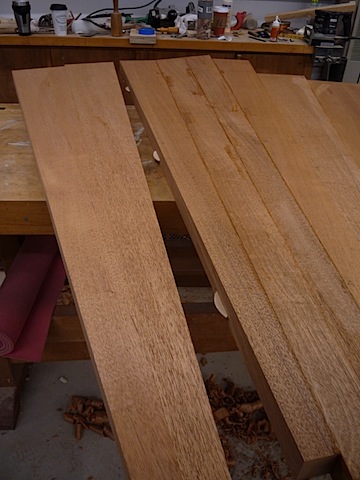
I can now mark out he final shape of the table top. Then it is off to the bandsaw to rough cut the shapes.
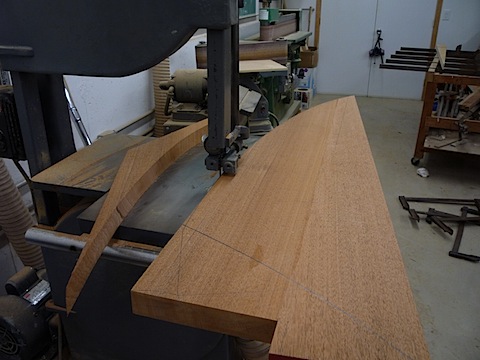
I am going to use a router with a pattern bit to follow templates with the exact curve that i want.
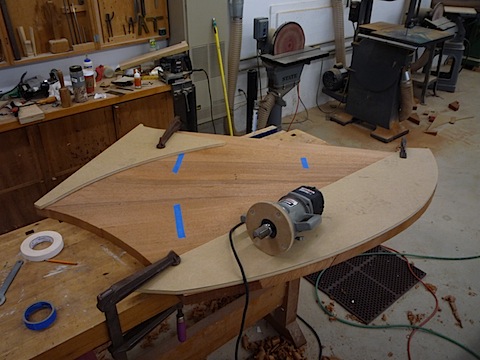
I make the templates from a consistent material called MDF. I am able to shape the 1/2″ thick material with ease. To do this directly on the Mahogany would be exponentially harder.
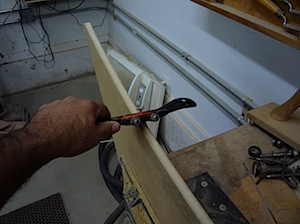
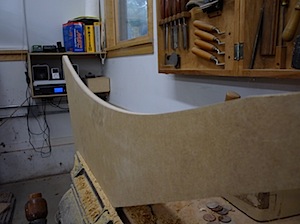
Before
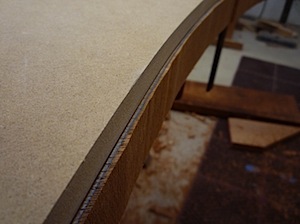
After
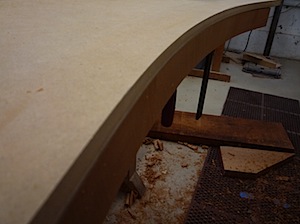
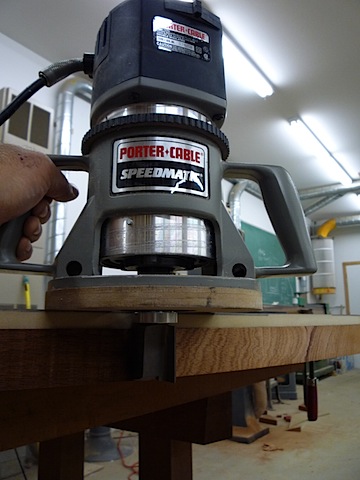
Here is a shot of the router and the pattern bit in action. The bit has a bearing that rides on the pattern.
Now I can pull back and see the whole top for the first time.
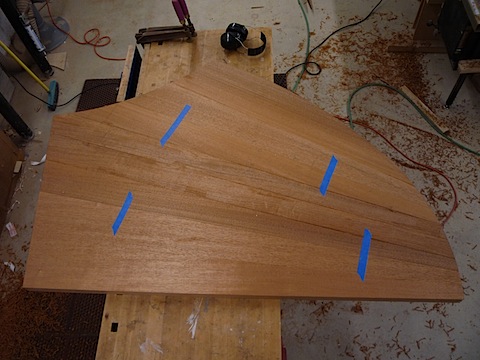
I have one more thing to do before I am ready to glue the top into one piece.
I want to add two diving facets that will serve to accentuate the movement of the boards that makeup the top. This is the sort of detail that is characteristic of my work. These moments keep me engaged in the piece as I build it. The result is that the table becomes a record of my decision making along the way. If I make good choices and balance the composition well the resulting table will stand up as a functional table and as a work of Art.
I am going to need to work to high tolerance because each moment is made from matching facets. I break out my combination squares and put a chamfer bit in my big router.
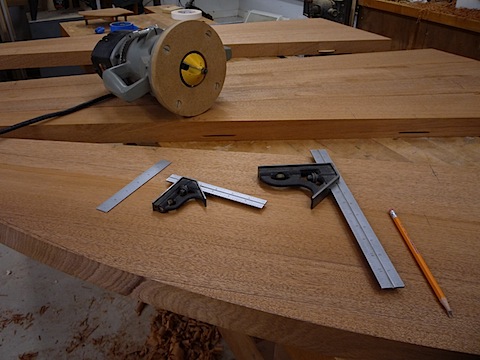
I clamp a straight edge to each section of the table on the carefully calculated marks. This time the base of the router will follow the guide, not the bearing.
Before
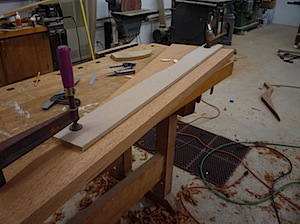
After
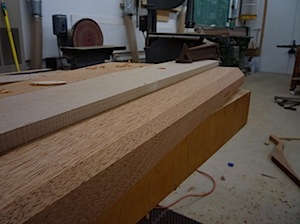
This is the fun part. When the piece shifts from executing the design to composition!
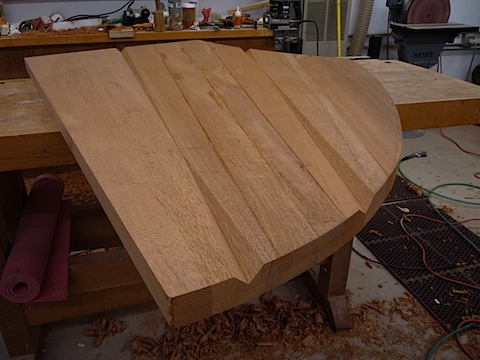
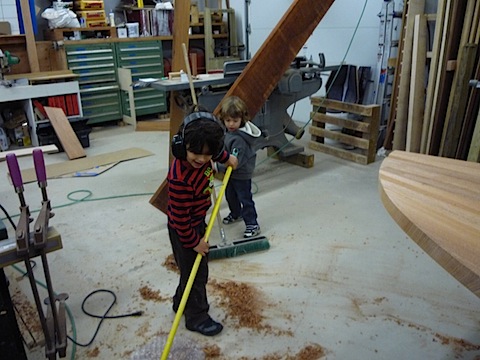
One more thing to do before the glue-up. I need some help cleaning up.
Coffee Table Commission
Part 1
Part 2
Part 3
Part 4
Part 5
Part 6
Part 7
Part 8
Part 9
Part 10
 By Nico Yektai -
New York based designer/maker Nico Yektai opened the doors to his Hamptons studio in 1995 after completing the MFA program at the School For American Craft at the Rochester Institute of Technology. The rigorous technical training complimented his background in Art History, which he studied, at Hobart College in Geneva NY. Yektai has synthesized this background into a singular style that has gained him national attention. Visit nicoyektai.com for more information