Pontus & Cito: Construction – part 1
I am going to take you on a journey through the construction of two of my new tables, Pontus and Cito. I will discuss the design inspiration and composition of the pieces in another post. Today is about nuts, bolts and sawdust! for those of you who came directly to this post here is a brief introduction to Pontus & Cito:
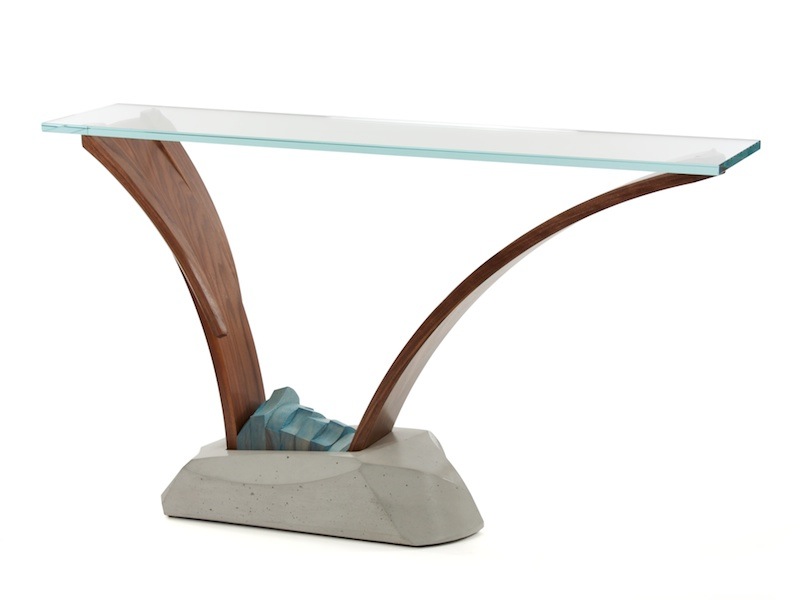
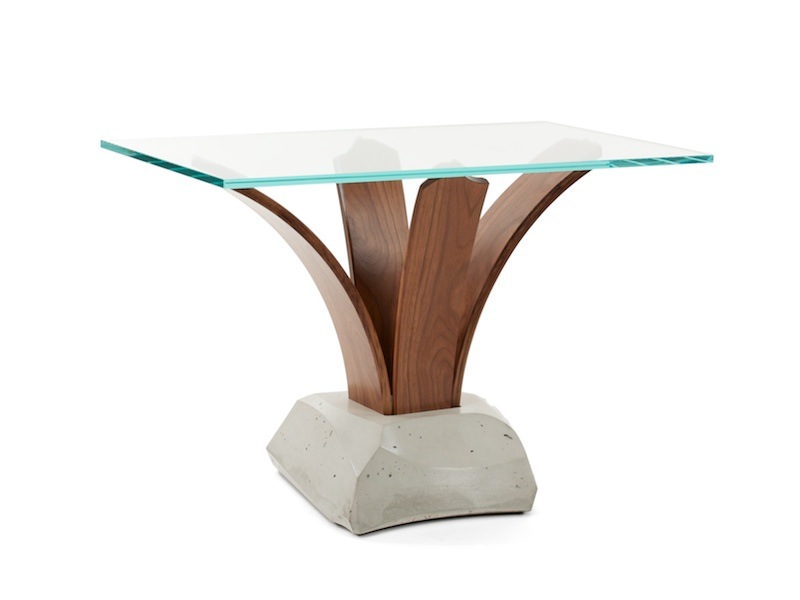
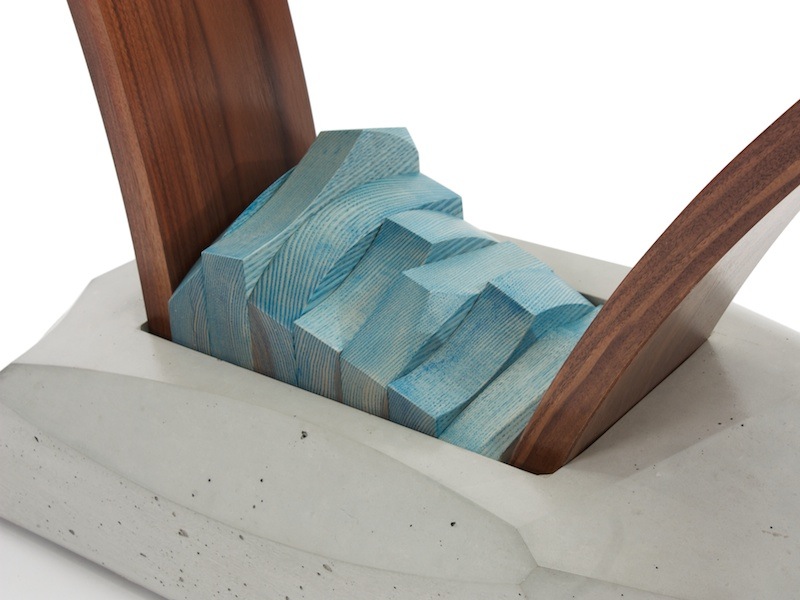
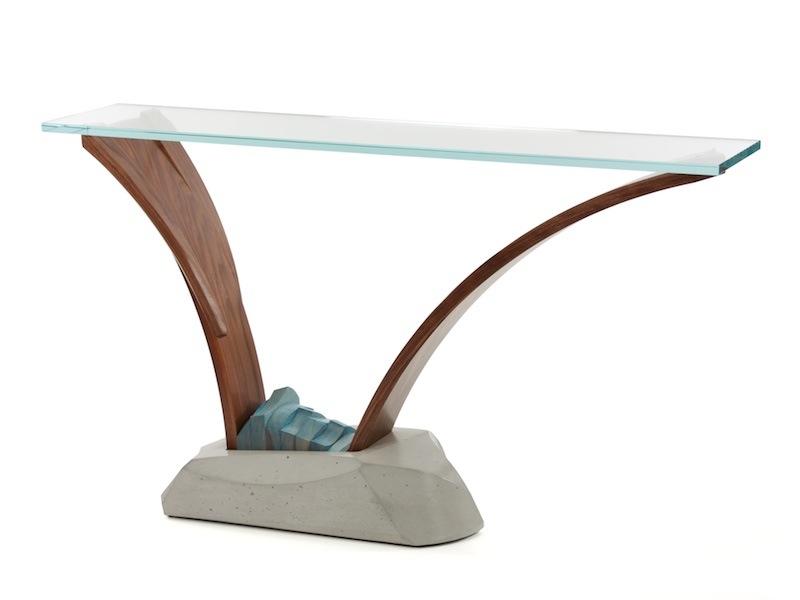
These pieces are sculptural pedestal tables featuring a cast concrete base that anchors bent, laminated walnut curves. The curves become the perch for the starphire glass top. The final detail is a guide ash mass that covers the hardware and becomes a focal point that I use to balance the composition.
More Information: Pontus modern console table with concrete
More Information: Cito modern pedestal table
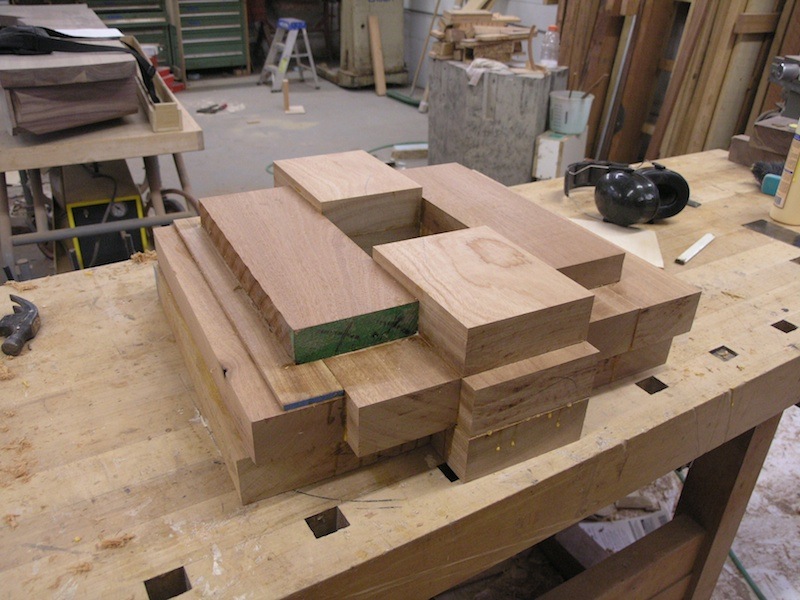
Let’s take a look at the construction of these pieces, beginning with the intricate cast concrete base. I begin by laminating a mass of wood.
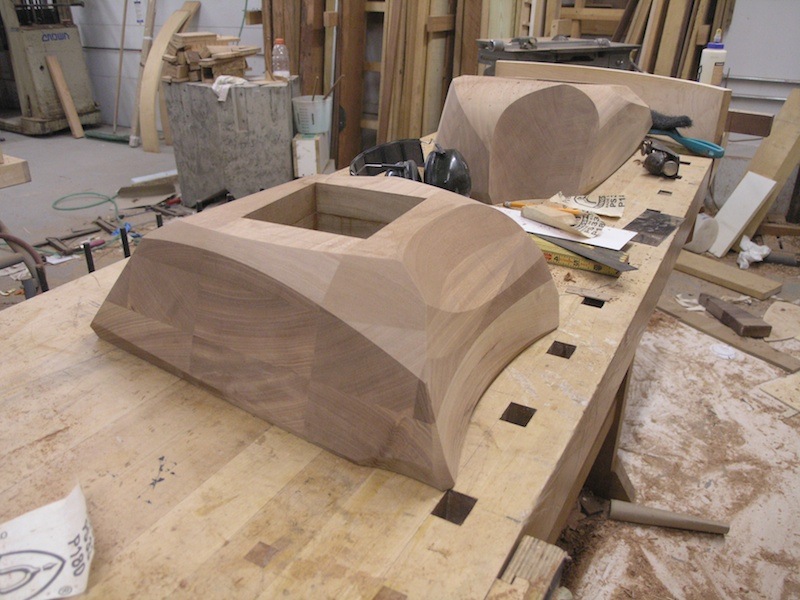
I then shape it into the form that I eventually want to be made out of concrete.
After refining the form, I create a shell around it that I will use to hold the silicone that will eventually become the vessel in which I cast the concrete. This is a technique that allows me to create intricate castings with a level of detail that I have not been able to achieve with this much flexibility.
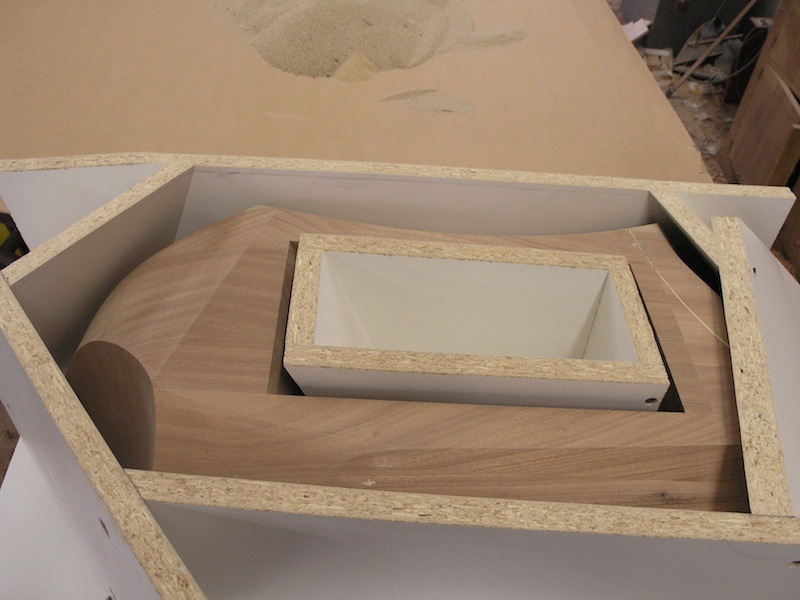
Mixing the silicone is a messy job. Yuck!
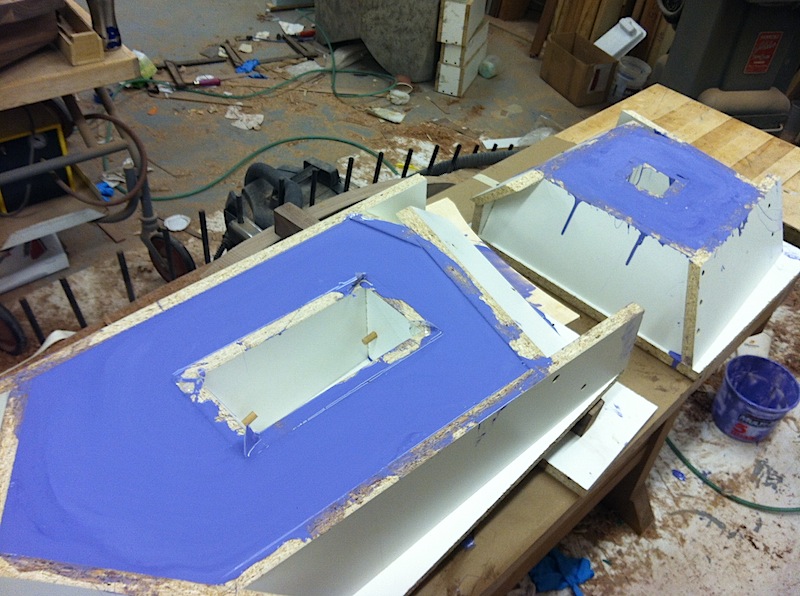
Things don’t always go as planned! The silicone shells were not harmed so all is good.
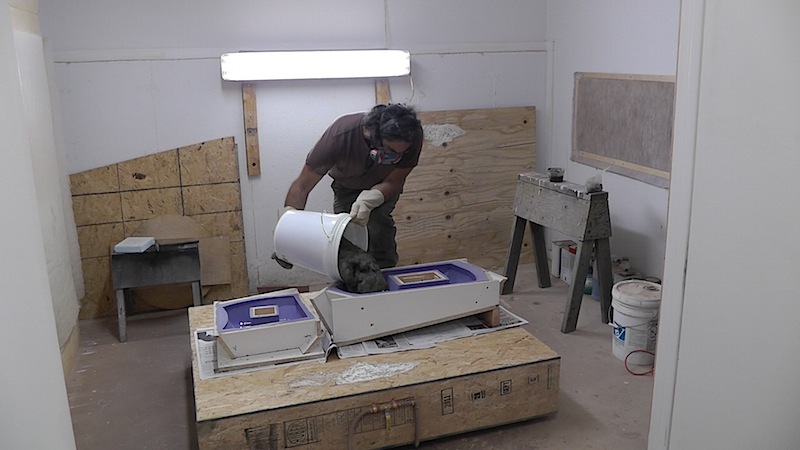
I assemble the hardware that will get buried in the concrete and allow me to connect the walnut curves. Finally ready for concrete!

I use a special mix that has lots of reinforcement and acrylic additives so that I don’t need to put any other structure inside of the form.
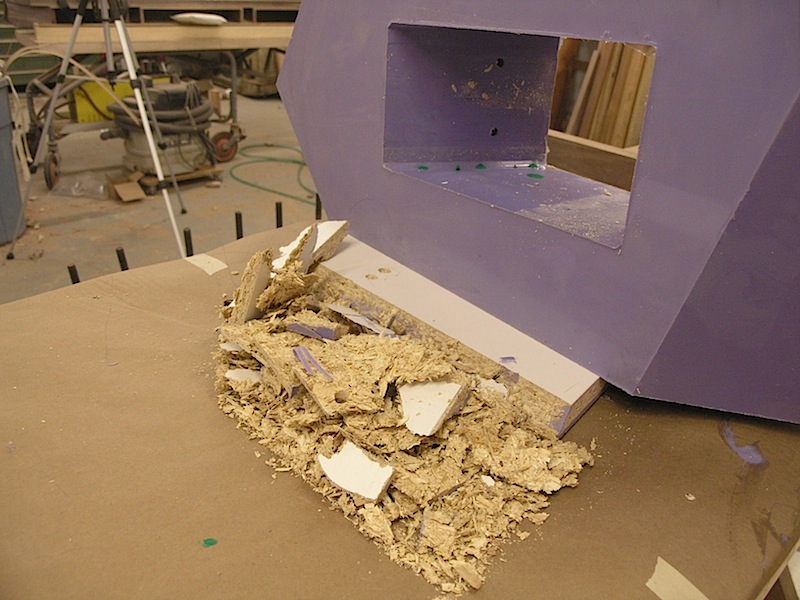
The moment of truth. Time to remove the shell and then the silicone form and see what we have.
Success!

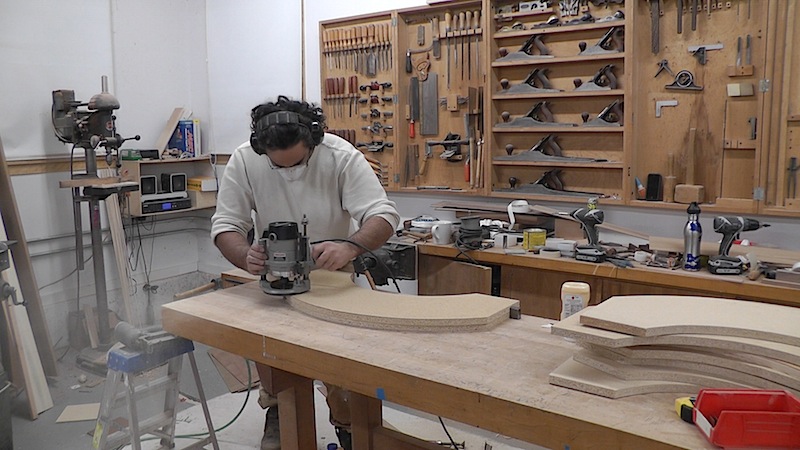
Now it is time to make the forms for the bent walnut curves. I start by swinging the arc that I want with my router onto a piece of particle board. I then follow that pattern and create a series of layers that I flush trim to the previous layer. I attach my special bending clamps and now it’s time to generate the laminations.
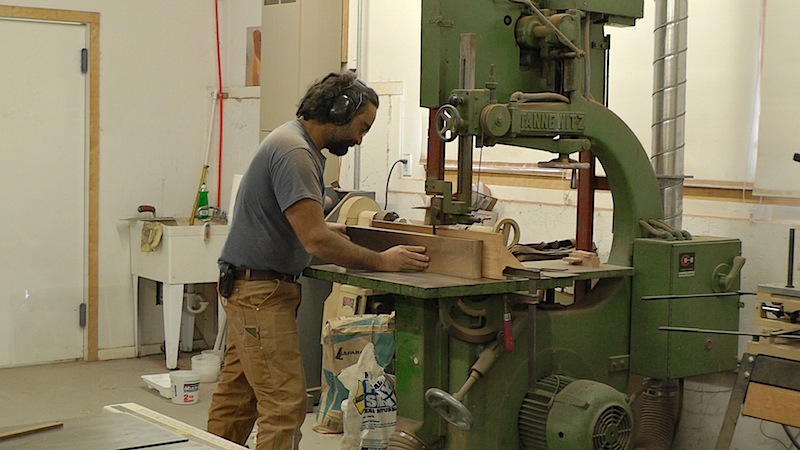
My biggest bandsaw gets the call for this operation. I slice the boards up into thin layers that I will put back together on top of my bending forms. The glue will lock the board in to the new shape.
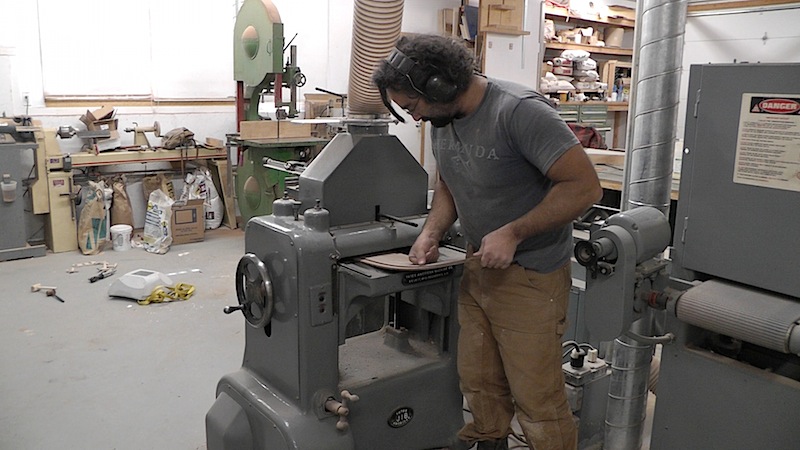
I start the process of passing each lamination through the planer to get rid of the band saw marks. Keeping the laminations in order and taking away a minimum amount of wood is going to result in a really good looking joint.
Continue to part 2
Pontus & Cito: Construction – part 2
Return to part 1 to catch up on the construction of these two new pieces.
I spread an even coat of epoxy on all of the laminations being careful to keep them in order.
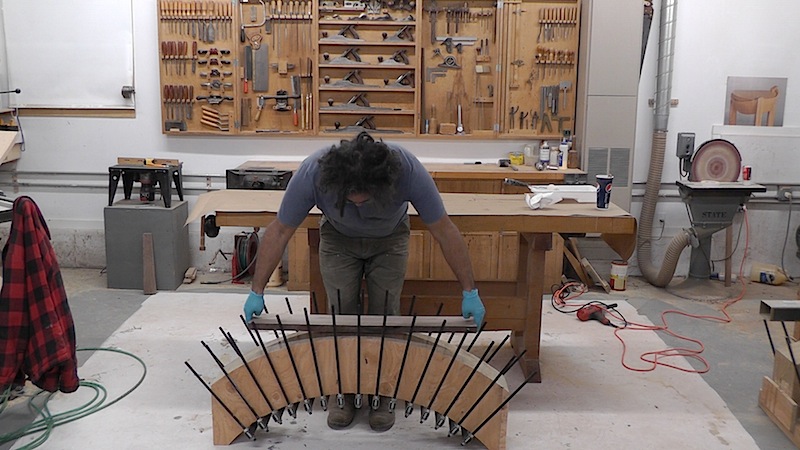
I place the bundle on the bending form and begin assembling the top part of the clamps. I tighten them with an impact wrench. I can get an incredible amount of even pressure this way.
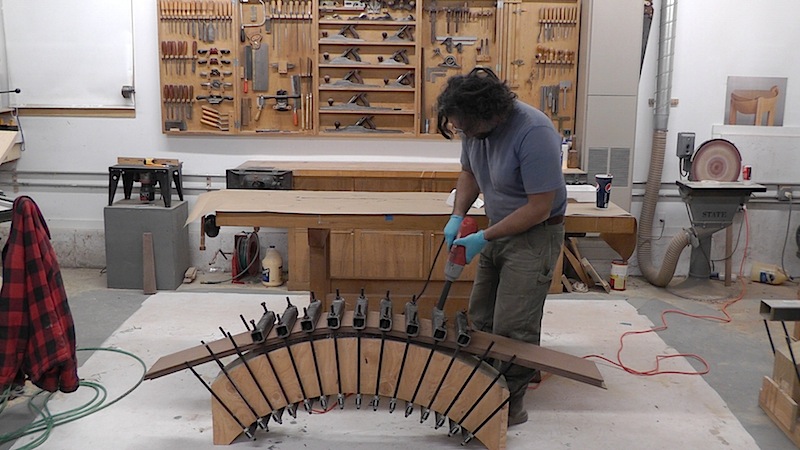
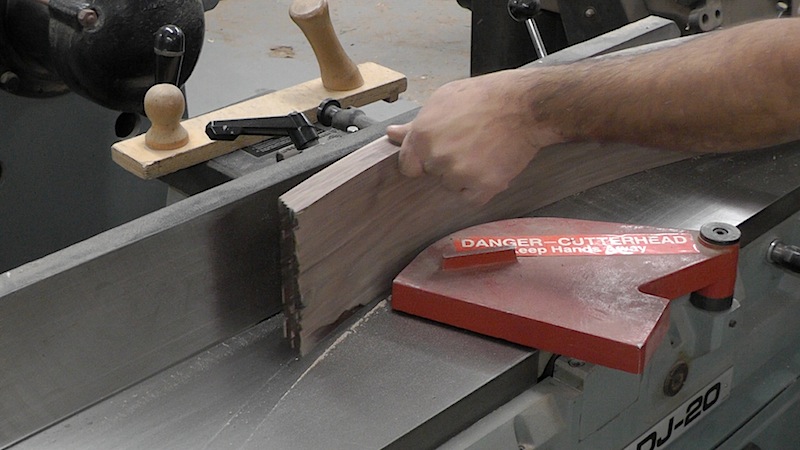
After the glue dries, it’s over to the joiner to clean up one of the edges.
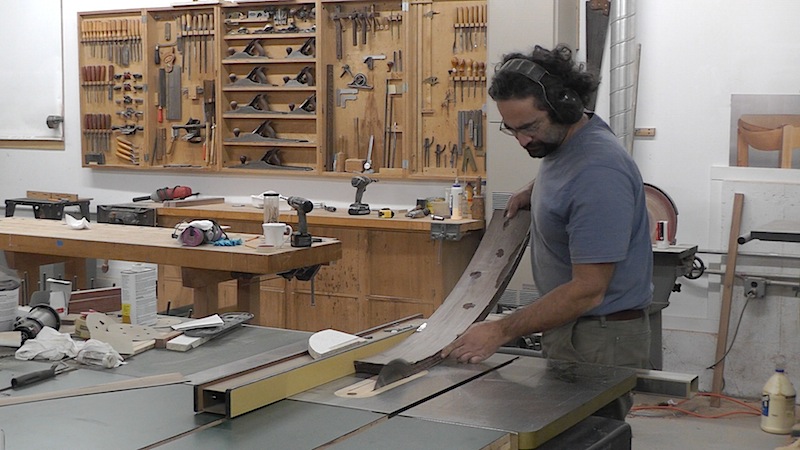
Then it’s over to the table saw to make the corresponding edge parallel.
The components are now made, so I can begin to focus on the composition. Pencil lines, band saw cuts, and double stick tape help me at this stage to quickly refine the direction f the piece.
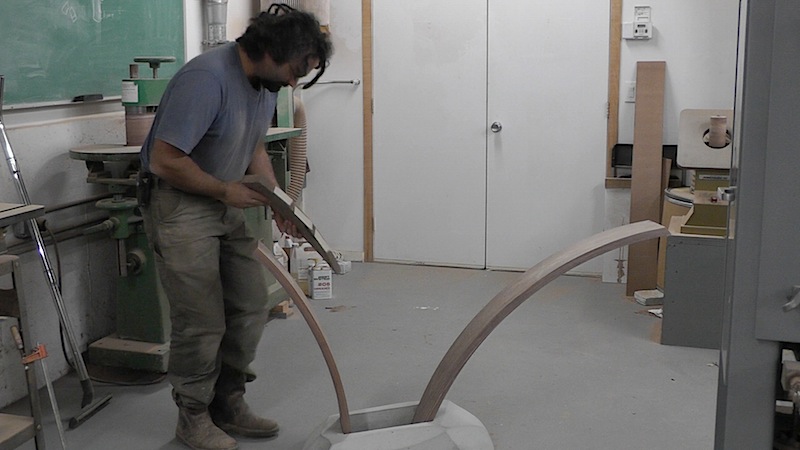
I use hand tools to facet the piece to really complete the composition. A thorough sanding and it’s time to sign the piece.
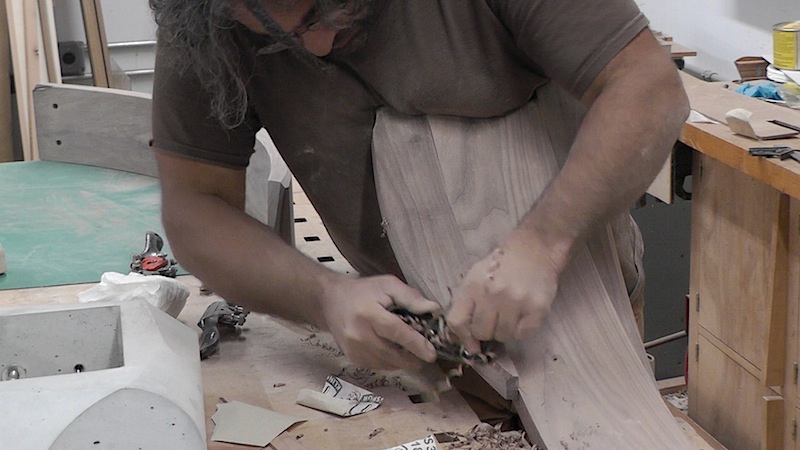
I sand all of the parts. The reward is that i now get to sign the piece!

I spray a clear, water-based lacquer on top of a very thin coat of oil, which I use to give the walnut such a perfect color.
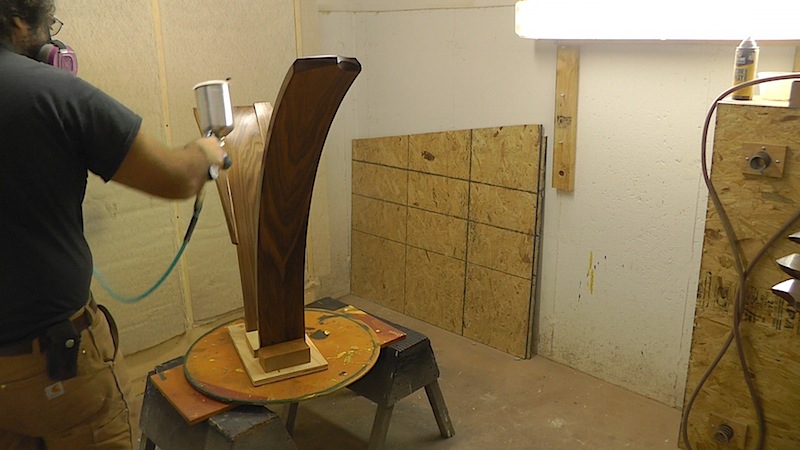
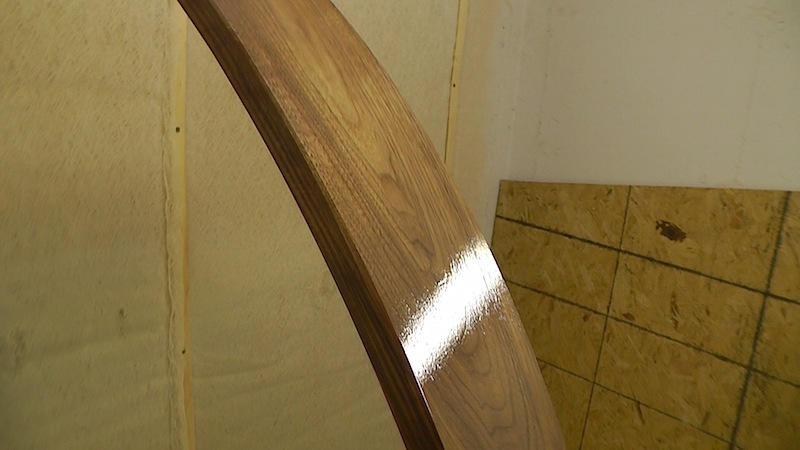
I use the reflection to make sure that I have a perfectly even coat of finish on the piece.
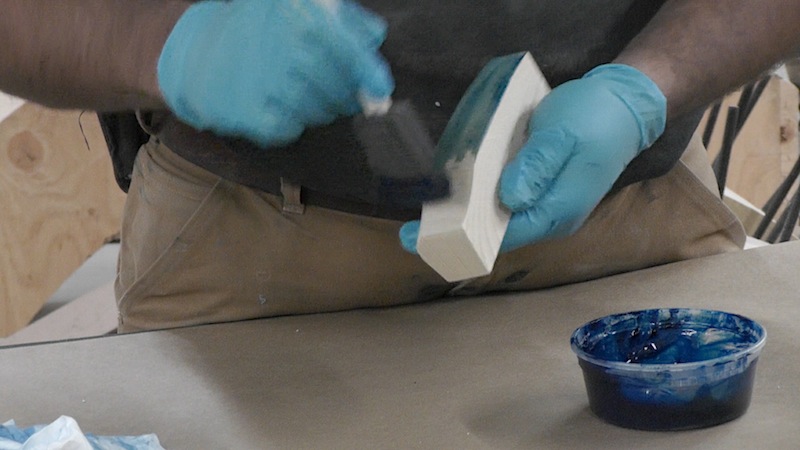
I mix some artist’s oil paint into my gel polyurethane, and I brush it onto the ash pieces. I love the way it clogs the open pores and becomes such a focal point of the composition.
Corner Piece #3 – Part 2
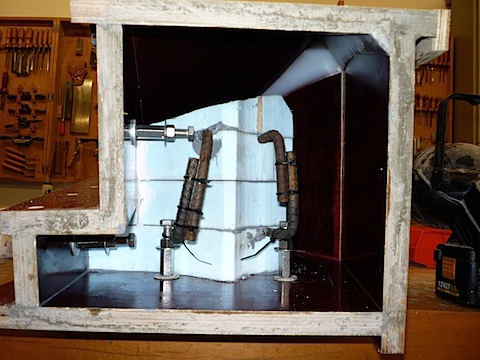
Often reality sets in when it is least welcome. I had to move the newly cast base and it proved to be just a bit too heavy. It has to have a certain weight to provide a stable foundation but no question it was too heavy.
The solution is a bunch of foam
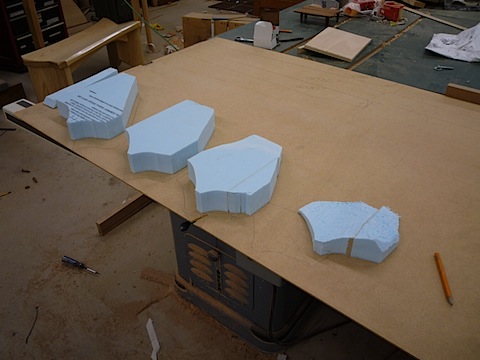
A bit of steel
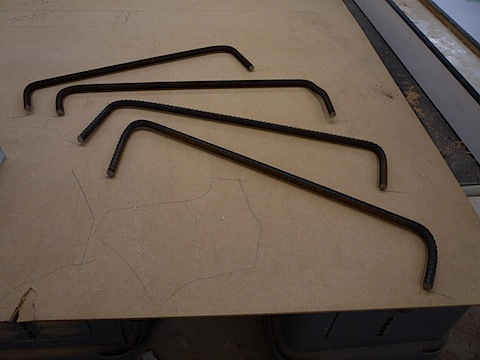
These parts were carefully positioned and will cut the weight by a fair amount. It is the difference between being able to easily move the casting vs. struggling. (I should note that i have superhuman strength so it is still quite heavy to the average person)
Note: The silvery Stainless Steel parts are threaded inserts that get locked into the concrete and will be used to fasten the wood.
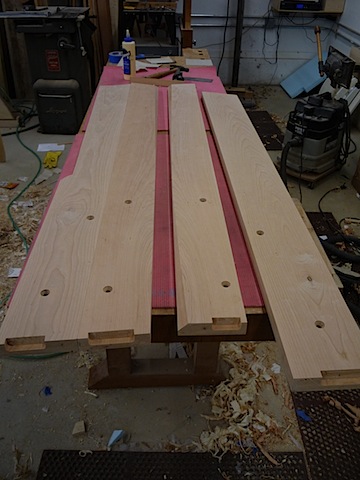
THe piece is beginning to take shape!
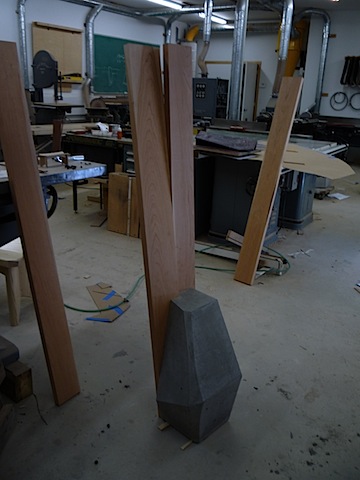
The holes correspond tot he threaded inserts that i buried in the casting.
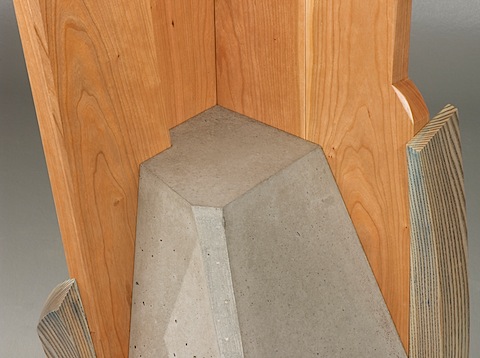
The ash components are designed to hide the screws that hold the cherry to the concrete. Even if there were no holes to cover I would still want the ash pieces. They increase the footprint and provide the visual “glue” to tie the concrete and the Cherry components together.
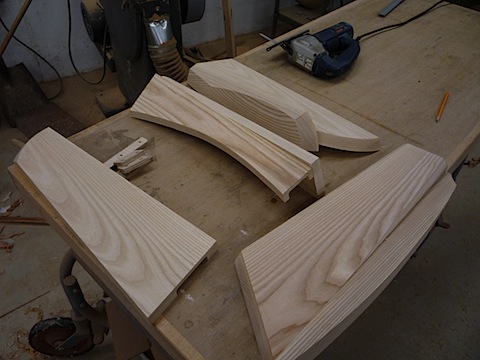
The Ash is providing too much of a contrast so it will need some help. I sneak across the street to steal some Oil paint from my father. (One of the many advantages of having an Artist for a father)
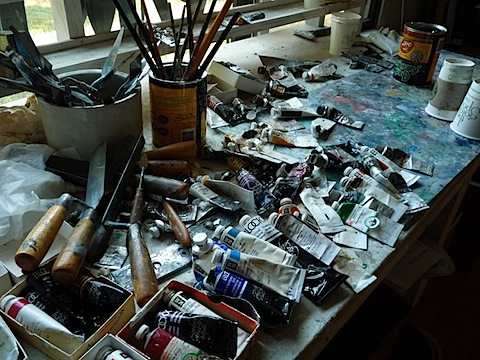
A few samples later I decide on a mix of Indigo and Ivory black to mellow the Ash and help it tie into the concrete.
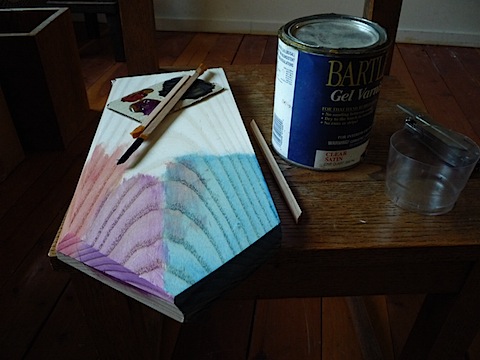
Finished!
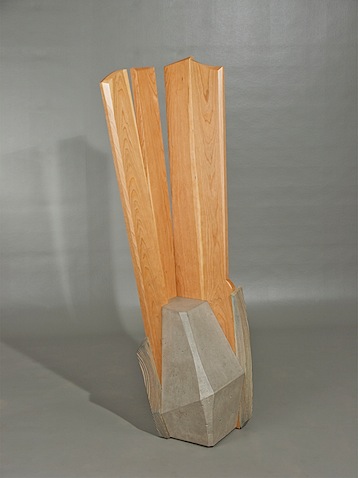
Detail.
Corner Piece #3
Part 1
Part 2