Pontus & Cito: Construction – part 1
I am going to take you on a journey through the construction of two of my new tables, Pontus and Cito. I will discuss the design inspiration and composition of the pieces in another post. Today is about nuts, bolts and sawdust! for those of you who came directly to this post here is a brief introduction to Pontus & Cito:
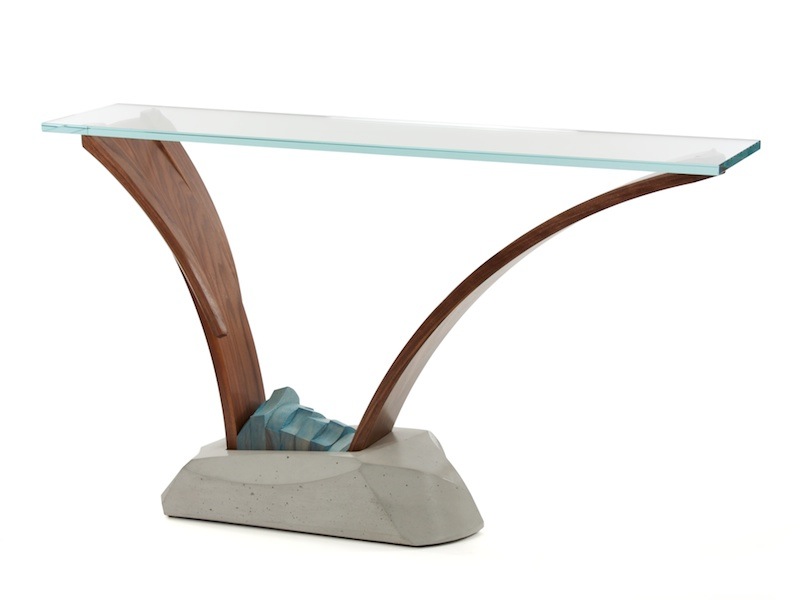
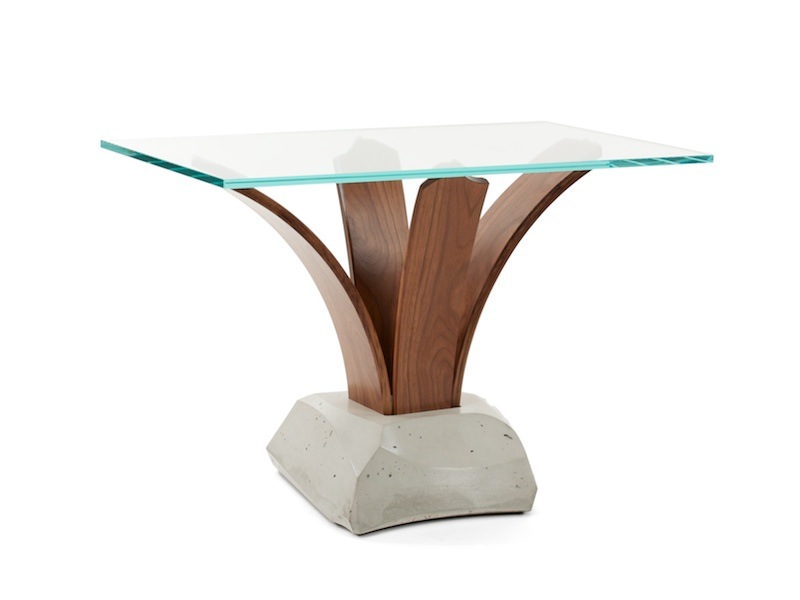
These pieces are sculptural pedestal tables featuring a cast concrete base that anchors bent, laminated walnut curves. The curves become the perch for the starphire glass top. The final detail is a guide ash mass that covers the hardware and becomes a focal point that I use to balance the composition.
More Information: Pontus modern console table with concrete
More Information: Cito modern pedestal table
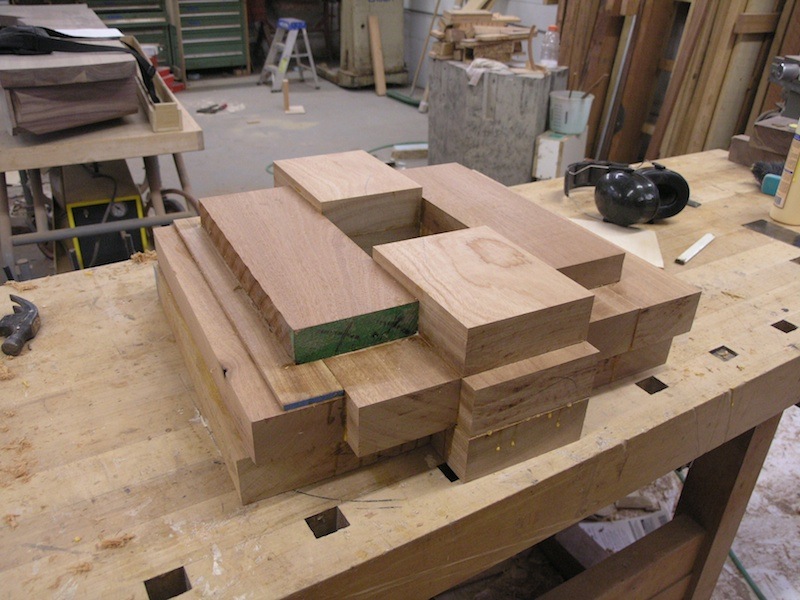
Let’s take a look at the construction of these pieces, beginning with the intricate cast concrete base. I begin by laminating a mass of wood.
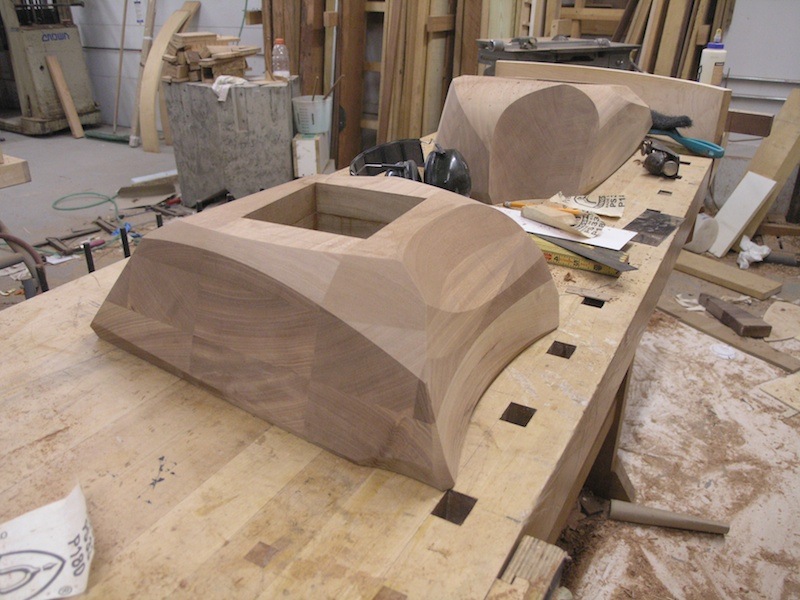
I then shape it into the form that I eventually want to be made out of concrete.
After refining the form, I create a shell around it that I will use to hold the silicone that will eventually become the vessel in which I cast the concrete. This is a technique that allows me to create intricate castings with a level of detail that I have not been able to achieve with this much flexibility.
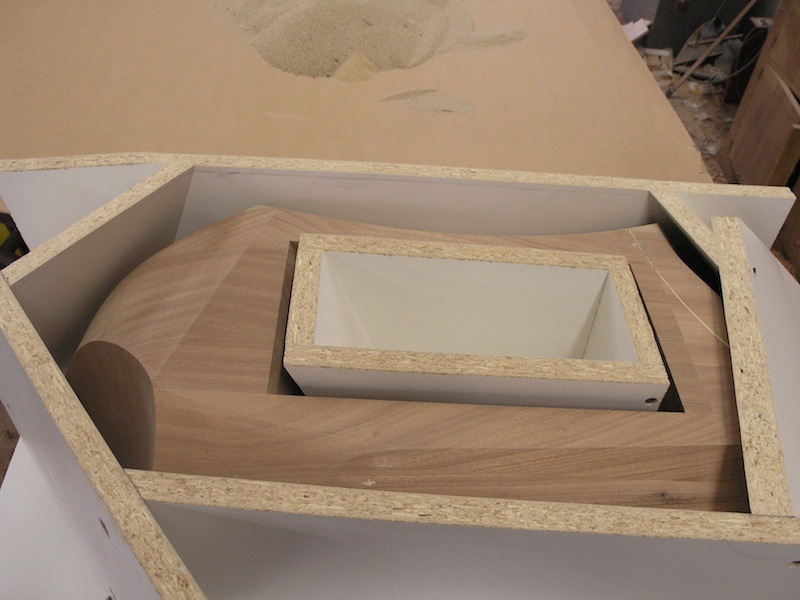
Mixing the silicone is a messy job. Yuck!
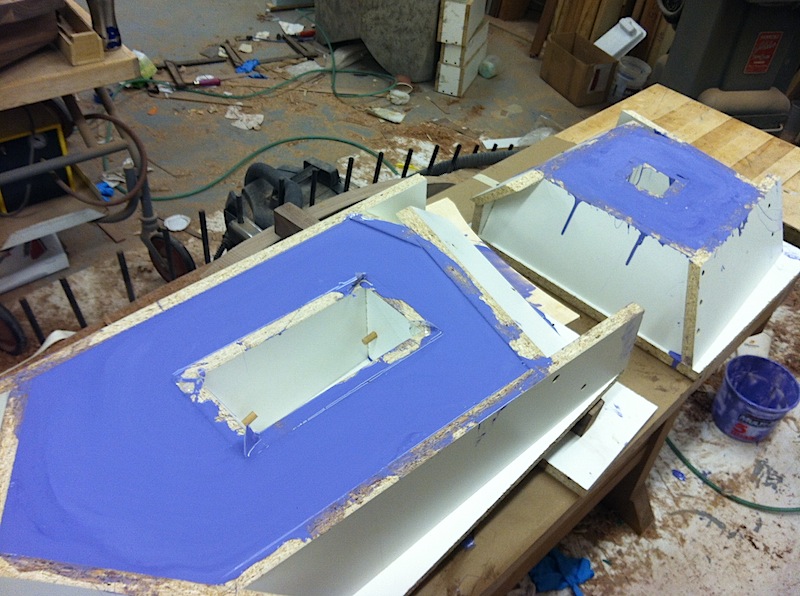
Things don’t always go as planned! The silicone shells were not harmed so all is good.
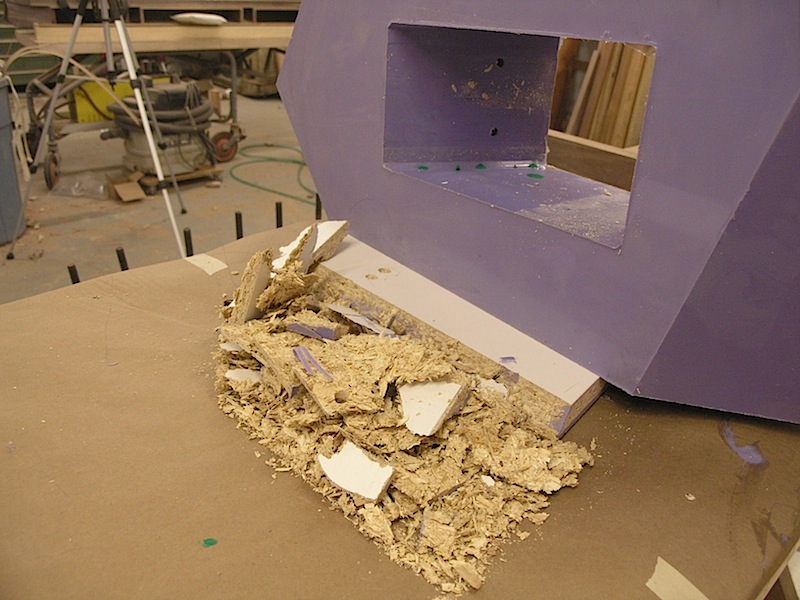
I assemble the hardware that will get buried in the concrete and allow me to connect the walnut curves. Finally ready for concrete!

I use a special mix that has lots of reinforcement and acrylic additives so that I don’t need to put any other structure inside of the form.
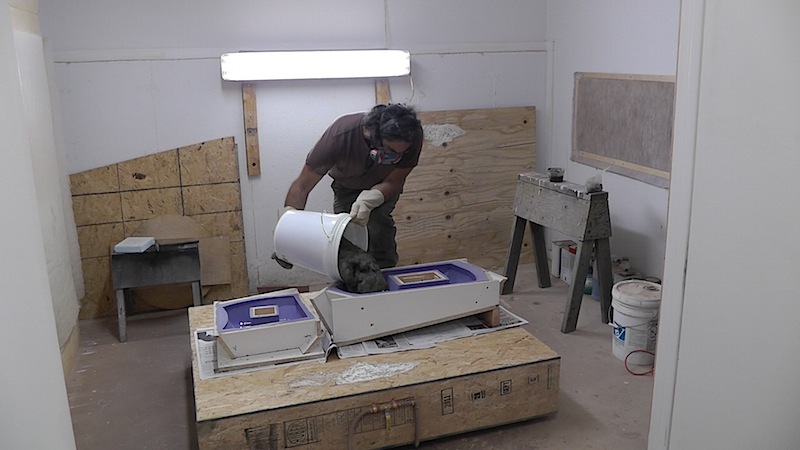
The moment of truth. Time to remove the shell and then the silicone form and see what we have.
Success!

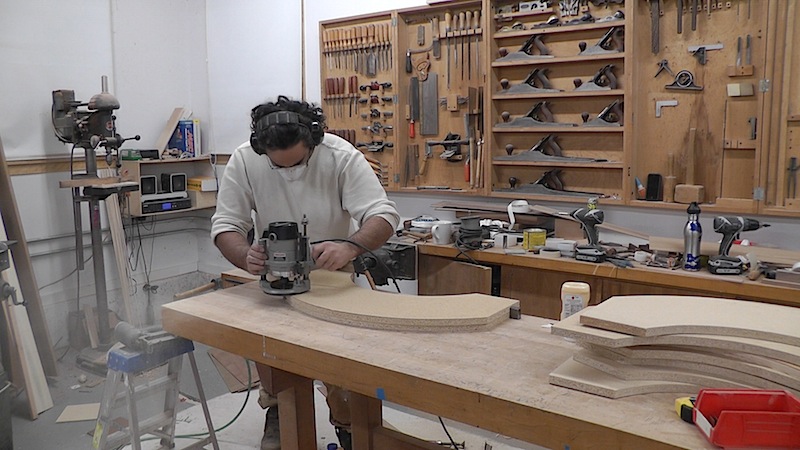
Now it is time to make the forms for the bent walnut curves. I start by swinging the arc that I want with my router onto a piece of particle board. I then follow that pattern and create a series of layers that I flush trim to the previous layer. I attach my special bending clamps and now it’s time to generate the laminations.
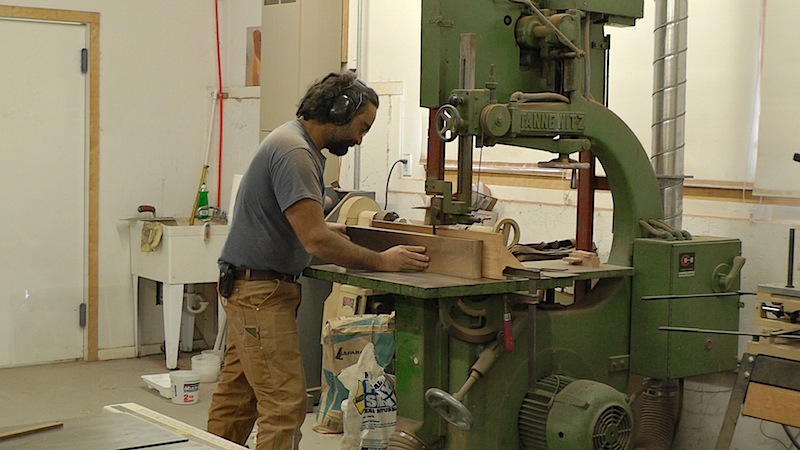
My biggest bandsaw gets the call for this operation. I slice the boards up into thin layers that I will put back together on top of my bending forms. The glue will lock the board in to the new shape.
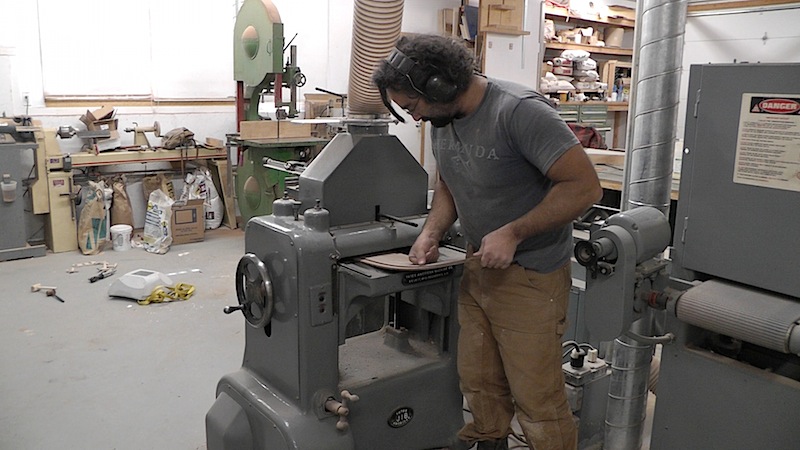
I start the process of passing each lamination through the planer to get rid of the band saw marks. Keeping the laminations in order and taking away a minimum amount of wood is going to result in a really good looking joint.
Continue to part 2
 By Nico Yektai -
New York based designer/maker Nico Yektai opened the doors to his Hamptons studio in 1995 after completing the MFA program at the School For American Craft at the Rochester Institute of Technology. The rigorous technical training complimented his background in Art History, which he studied, at Hobart College in Geneva NY. Yektai has synthesized this background into a singular style that has gained him national attention. Visit nicoyektai.com for more information