Coffee Table Part 2 – The Top Takes Shape
Picking up where I left off. I now have three pieces that need to get refined. Then they can be glued-up into the table top.
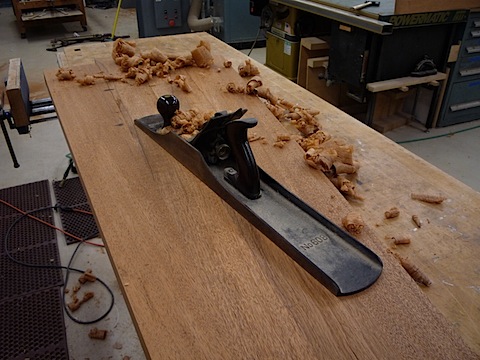
I start by using my hand plane to flatten the bottom of each section. This will help when I move on to the next operation.
I run each board over the jointer to make sure that each joint is perfect. There is no margin for error. The size of the table top will magnify any error.
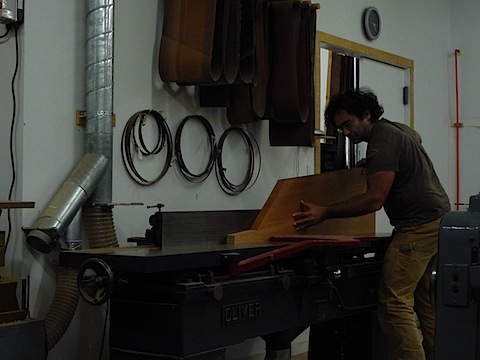
Things are so sensitive that i test each joint to make sure that they will close without clamp pressure. I also make sure that the two sections will be lie flat. If either half of the joint is off by the smallest degree it will result in a table top that resembles a Pringle potato chip.
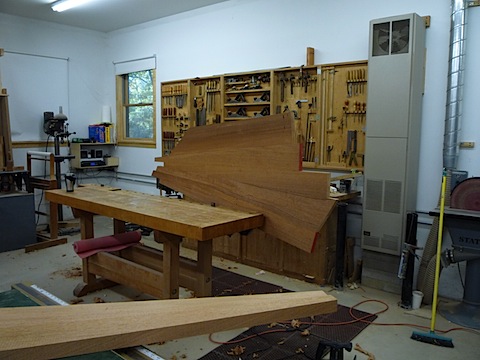
Perfect! Now I take out the biscuit jointer to cut pairs of matched slots to aid in aligning the sections.
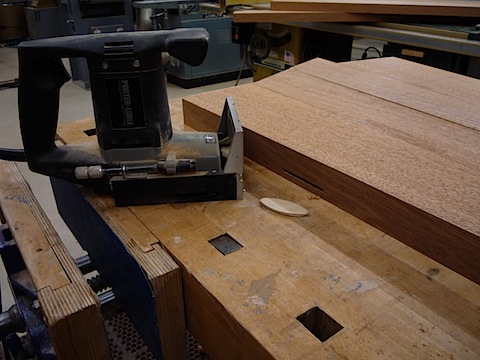
When I press the two sections together the biscuits will not allow the boards to misalign. Very helpful.
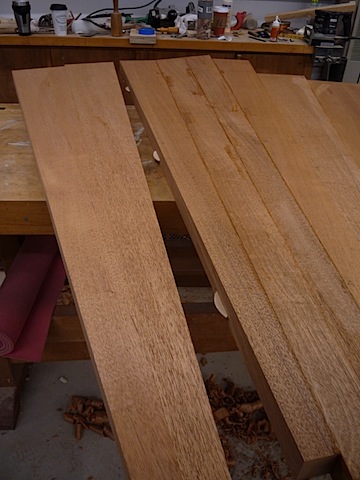
I can now mark out he final shape of the table top. Then it is off to the bandsaw to rough cut the shapes.
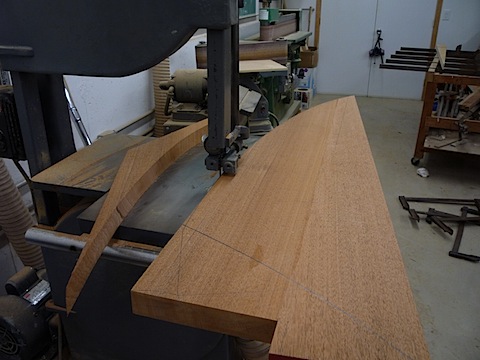
I am going to use a router with a pattern bit to follow templates with the exact curve that i want.
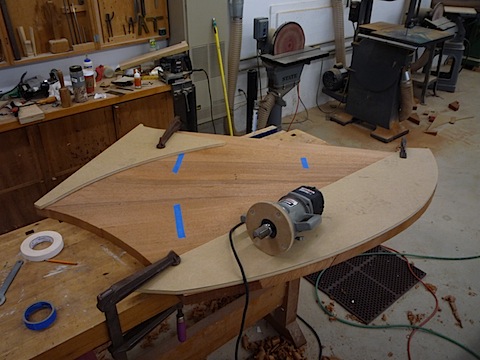
I make the templates from a consistent material called MDF. I am able to shape the 1/2″ thick material with ease. To do this directly on the Mahogany would be exponentially harder.
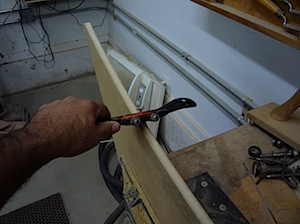
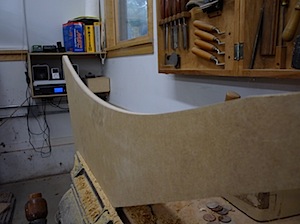
Before
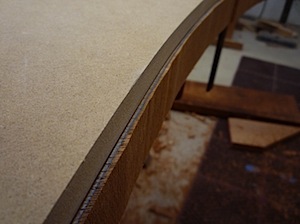
After
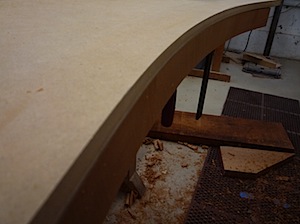
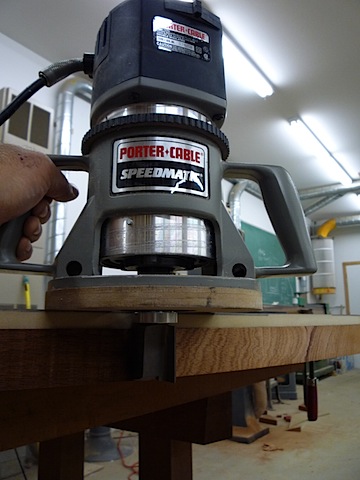
Here is a shot of the router and the pattern bit in action. The bit has a bearing that rides on the pattern.
Now I can pull back and see the whole top for the first time.
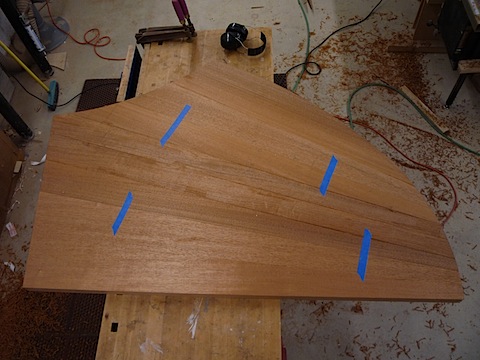
I have one more thing to do before I am ready to glue the top into one piece.
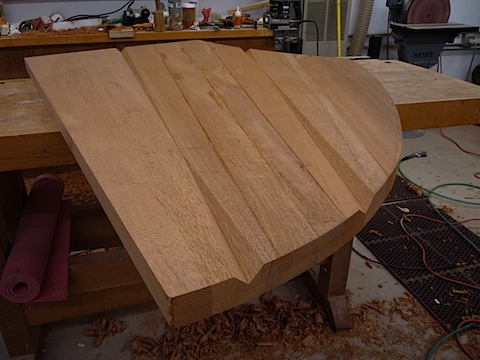
I want to add two diving facets that will serve to accentuate the movement of the boards that makeup the top. This is the sort of detail that is characteristic of my work. These moments keep me engaged in the piece as I build it. The result is that the table becomes a record of my decision making along the way. If I make good choices and balance the composition well the resulting table will stand up as a functional table and as a work of Art.
I am going to need to work to high tolerance because each moment is made from matching facets. I break out my combination squares and put a chamfer bit in my big router.
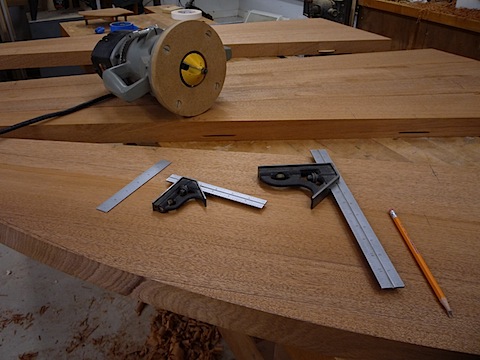
I clamp a straight edge to each section of the table on the carefully calculated marks. This time the base of the router will follow the guide, not the bearing.
Before
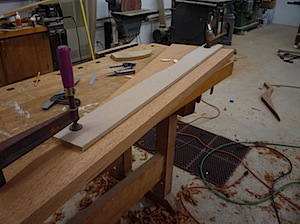
After
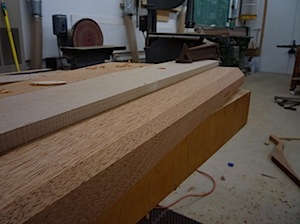
This is the fun part. When the piece shifts from executing the design to composition!
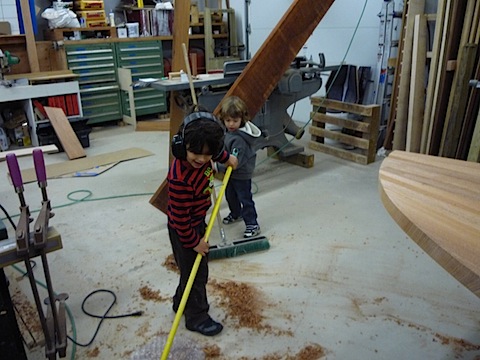
One more thing to do before the glue-up. I need some help cleaning up.
Coffee Table Commission
Part 1
Part 2
Part 3
Part 4
Part 5
Part 6
Part 7
Part 8
Part 9
Part 10
 By Nico Yektai -
New York based designer/maker Nico Yektai opened the doors to his Hamptons studio in 1995 after completing the MFA program at the School For American Craft at the Rochester Institute of Technology. The rigorous technical training complimented his background in Art History, which he studied, at Hobart College in Geneva NY. Yektai has synthesized this background into a singular style that has gained him national attention. Visit nicoyektai.com for more information