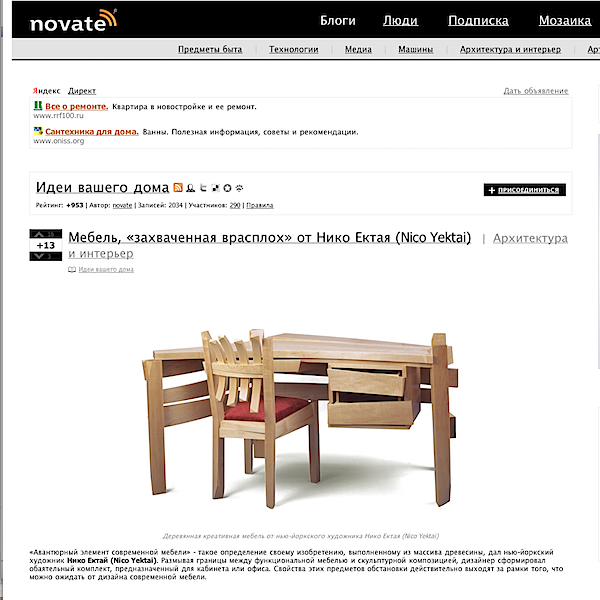
Desk #2- Part 1
I have been thinking about new work for the Architectural Digest Home Design Show in NYC and the Smithsonian Craft Show in D.C.. The need for new work seems to have converged with a bit of success one of my pieces has had in the blogosphere. I recently added Desk #1 to my website. I made this piece while I was a student and it marks the moment that my style had matured. The piece is still one of the best that I have made and someone at the Russian design blog Novate agreed. Well, I think they agreed! Please do not shatter my fragile ego if this translates to something less than flattering.
Occasionally a blog post will go a bit viral. This one traveled through a number of translations into half a dozen languages before it ended up in English again. This digital success encouraged me to do something that i have alway wanted to do- revisit this piece. In the coming blog posts I will chronicle the process of designing and building a piece like this.
My goal is to pick up where I left off with the desk and see if I can push new ground. The first principal that will be different is the two tiered approach to the curved elements in this desk. The original had a three layer system. The model below helped me get organized and then…
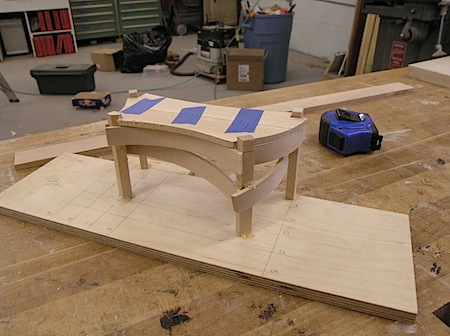
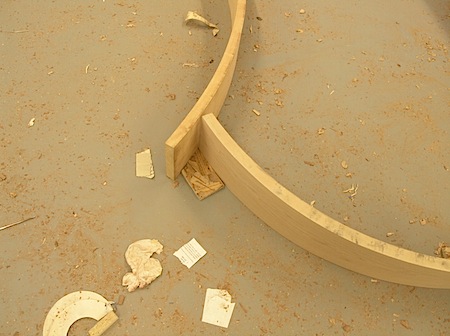
I was able to pull the actual curves down from the shelf and mock it up. Purchasing and inventorying these steam bent curves was one of the best things I have done for my workflow! Once I had the curves where i wanted them I was able to cut plywood blocks to help me figure out the angles that I would need to cut on the legs. You may notice that the curve on the left is quite thick. I will need to trim it down before I go any farther.
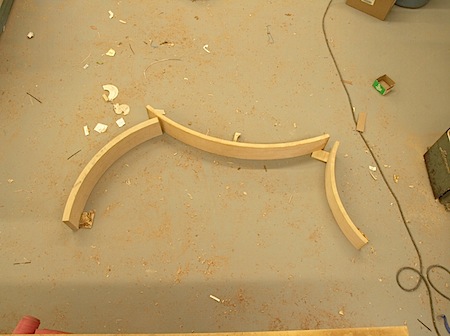
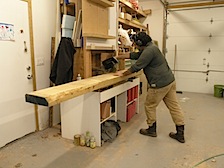
I take the piece over to my big saw, the Tannewitz, and peel off a useable chunk. I love that saw!
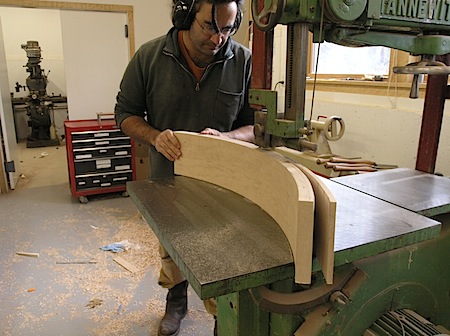
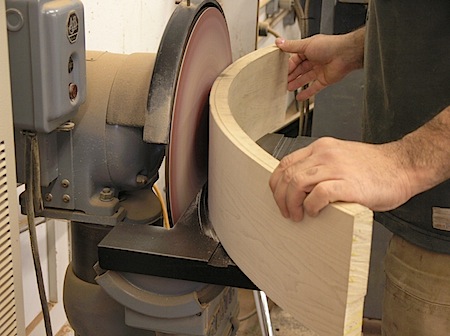
A quick trip to my State disk sander to clean up the bandsaw marks and I am back to figuring out the joinery.
I mentioned these pieces before. They will show me the profile that the legs will need to have to give the desk it’s shape.
Here they are lined up agains the end of the 3″ thick maple board. You can see that my approach to woodworking is very efficient! I will be able to get the maximum yield from this piece of wood.
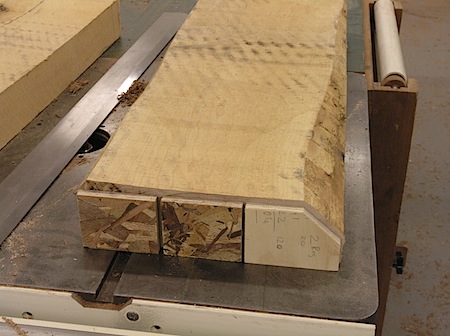
The legs start their transformation from this huge plank at the chop saw station. Then it is back to the trusty Tanny to rough the legs out. I used the plywood template from the previous shot to set the angle of the table.
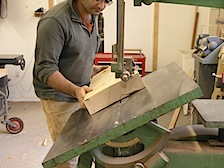
I take the legs over to the Oliver Jointer to clean up one side of each leg.
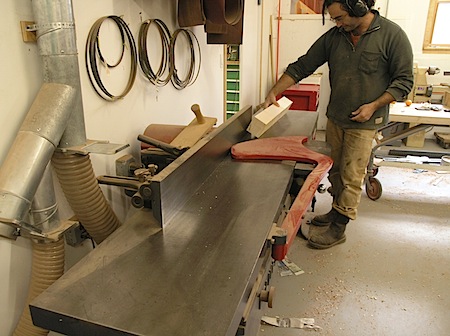
Next in the chain is the planer. I will clean up the side of the board parallel to the one that I just did on the jointer
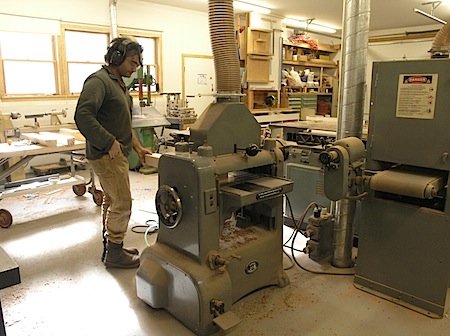
I get some more mileage out of those plywood pieces. I use one to set the angle on the table saw.
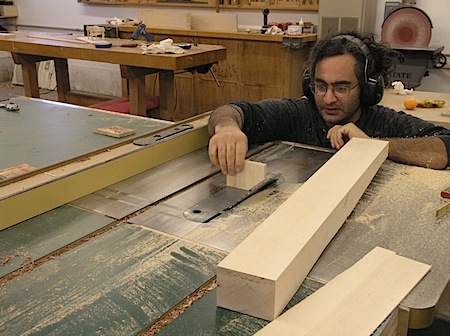
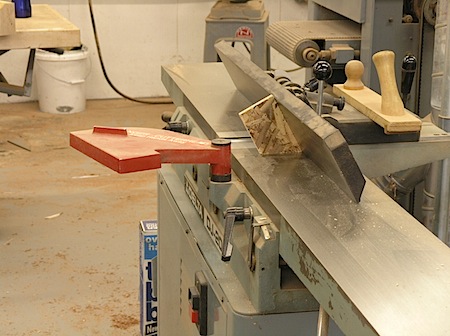
Now they see their final action. I set the angle on the small jointer to clean up the remaining rough surfaces on the legs.
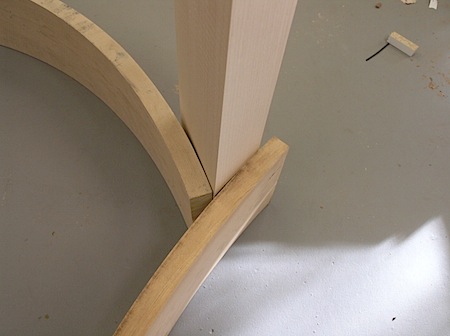
I have replaced the plywood place holders with the actual legs.
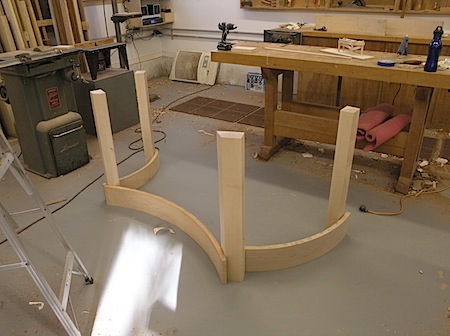
As of now everything is right where I want it. I am ready to lay out and execute the joinery. It is going to be quite involved so I will leave it for the next post.
 By Nico Yektai -
New York based designer/maker Nico Yektai opened the doors to his Hamptons studio in 1995 after completing the MFA program at the School For American Craft at the Rochester Institute of Technology. The rigorous technical training complimented his background in Art History, which he studied, at Hobart College in Geneva NY. Yektai has synthesized this background into a singular style that has gained him national attention. Visit nicoyektai.com for more information
